
Installing auto brake pads at home is a rewarding DIY project that can save you hundreds of dollars in labor costs while giving you valuable hands-on experience with your vehicle's most critical safety system. Many car owners feel intimidated by brake work, but with the right tools, quality parts, and careful attention to detail, replacing brake pads is well within the capabilities of most home mechanics. This comprehensive guide will walk you through every step of the process, from gathering the necessary equipment to properly bedding in your new pads for optimal performance.
Essential Tools and Materials for Brake Pad Installation
Required Tools for the Job
Before beginning your brake pad replacement project, you'll need to assemble the proper tools to ensure a safe and successful installation. A quality floor jack and jack stands are absolutely essential for safely lifting and supporting your vehicle. Never attempt to work under a car supported only by a jack, as this poses serious safety risks. You'll also need a lug wrench or impact gun to remove the wheels, along with a basic socket set including metric and standard sizes.
Additional specialized tools include a brake caliper compression tool or large C-clamp to compress the caliper pistons, brake cleaner spray to remove dust and debris, and high-temperature brake grease for lubricating contact points. A wire brush will help clean rust and corrosion from the caliper brackets, while a torque wrench ensures proper bolt tightening specifications. Having these tools ready before you start will make the entire process much smoother and more efficient.
Selecting Quality Brake Pad Materials
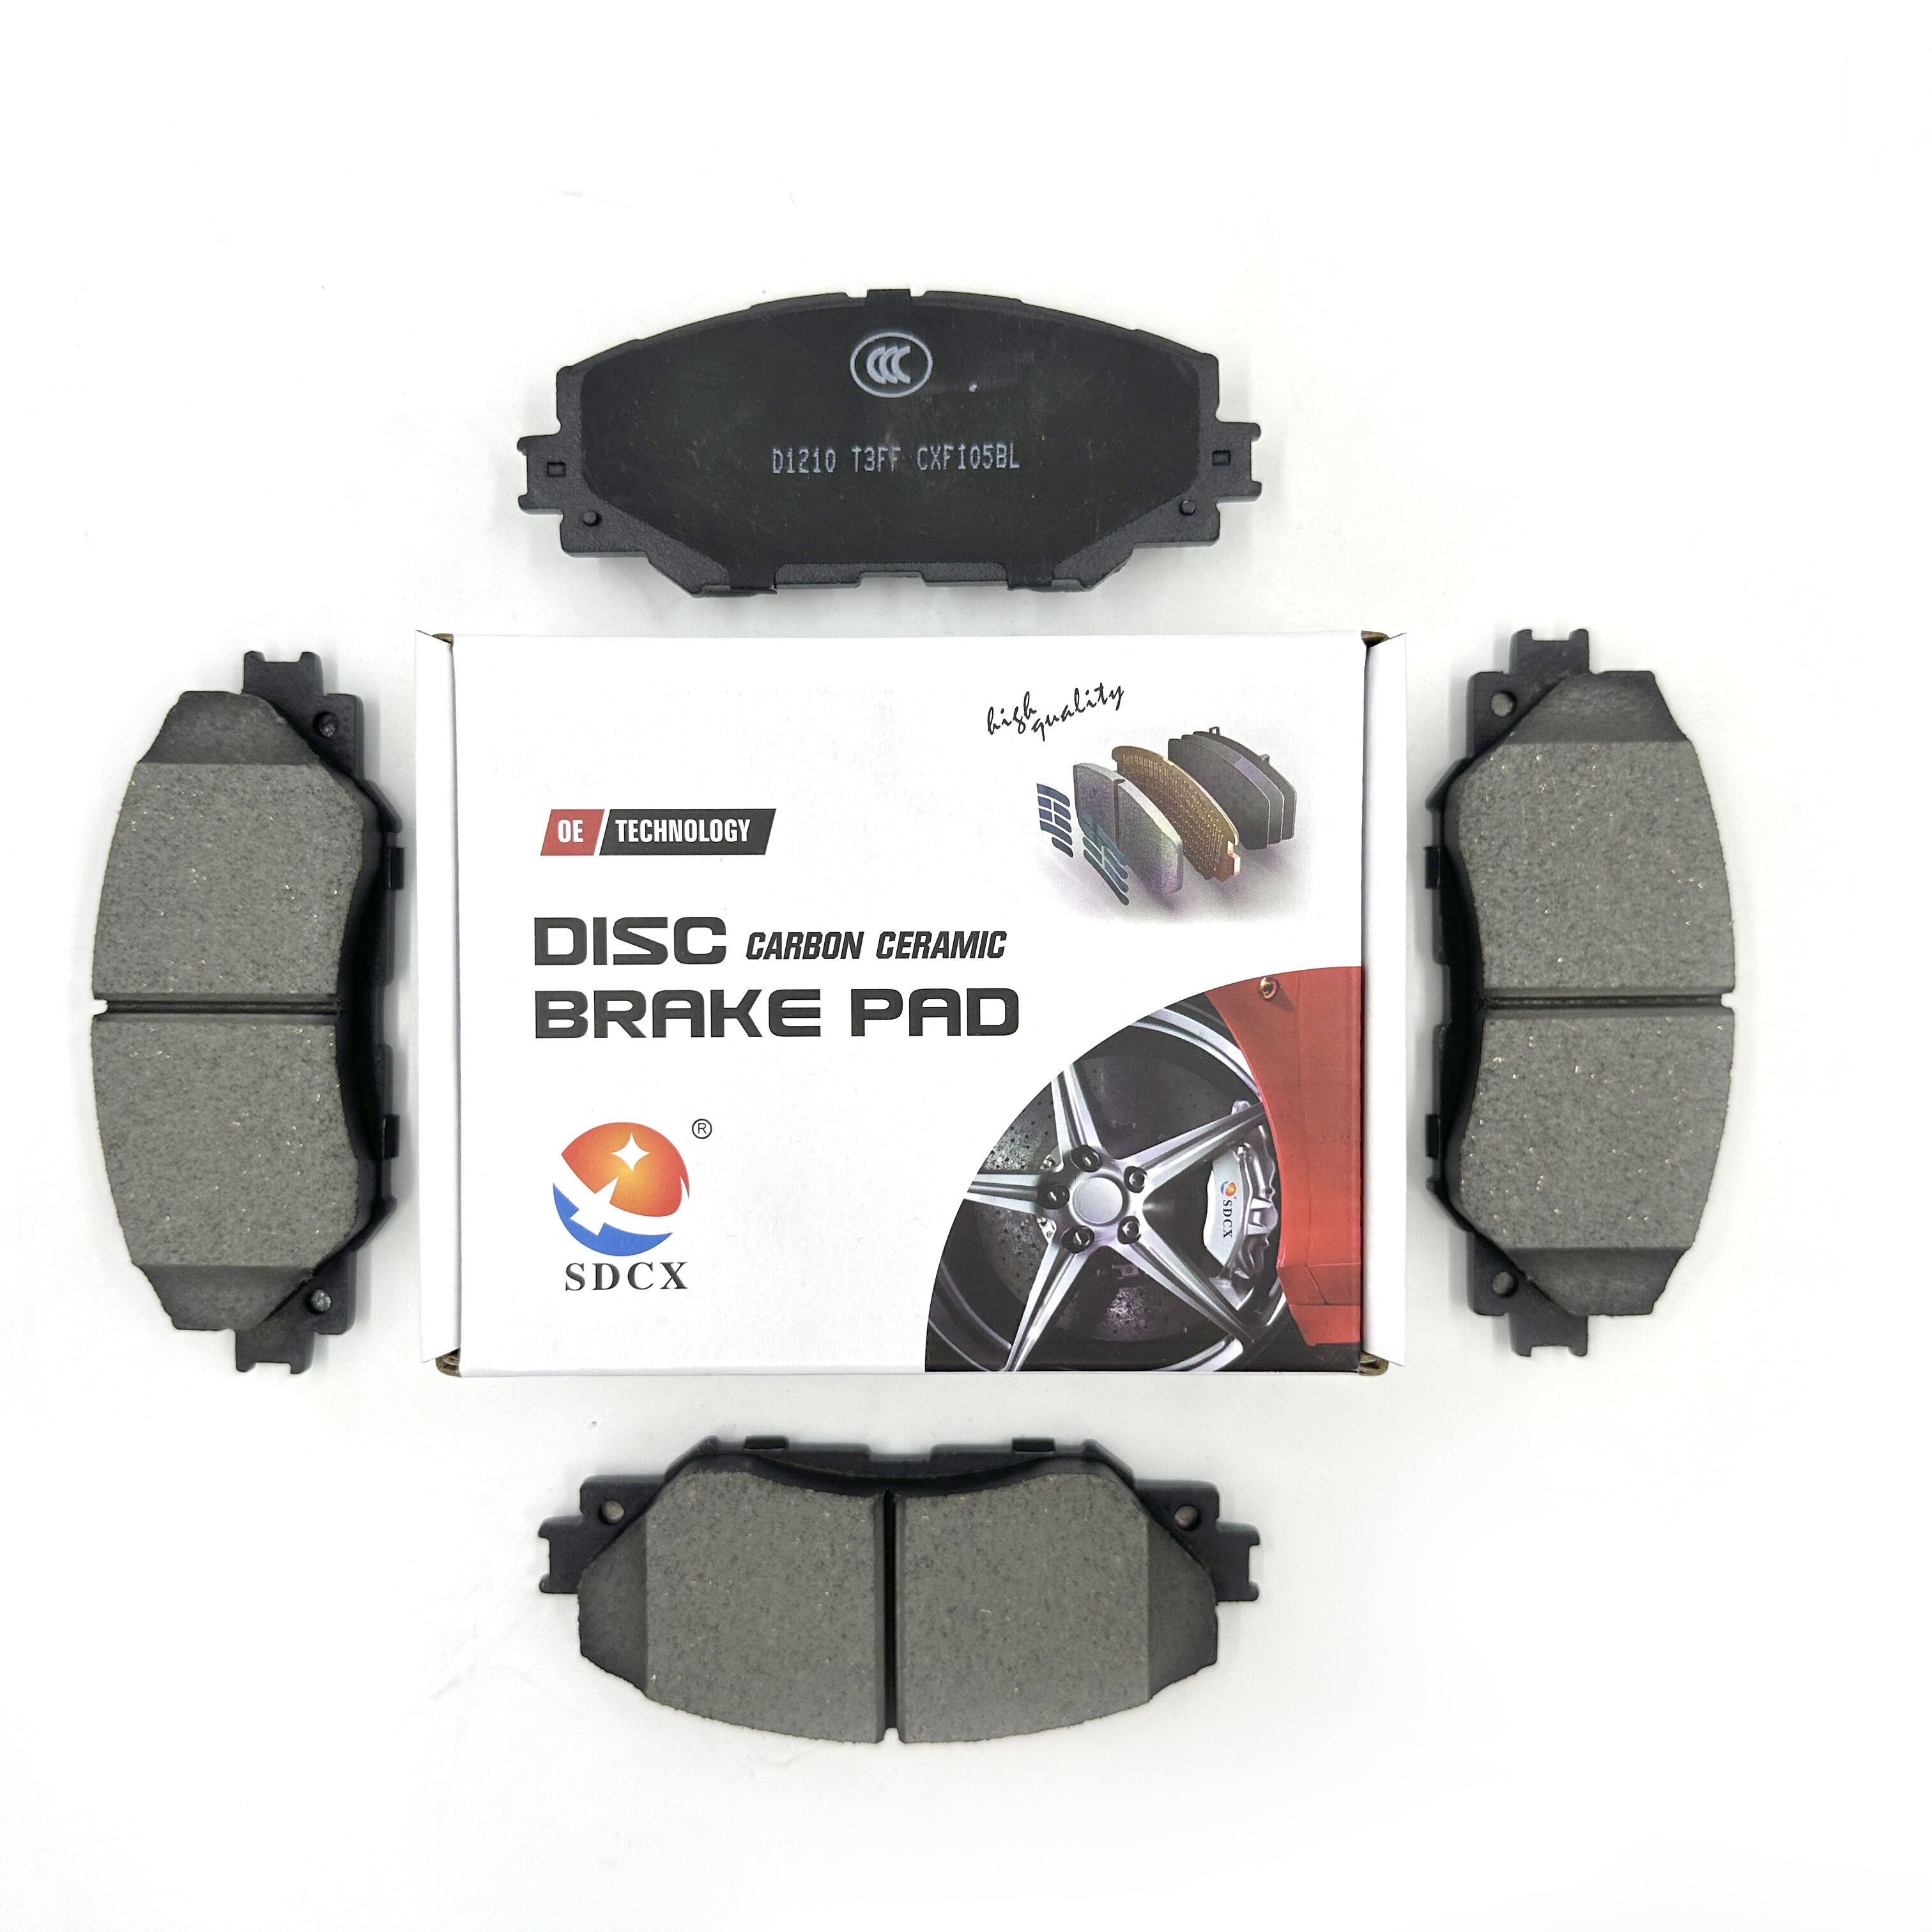
The quality of your replacement auto brake pads directly impacts both safety and performance, making material selection a crucial decision. Ceramic brake pads offer excellent stopping power with minimal dust production and reduced noise levels, making them ideal for daily driving applications. Semi-metallic pads provide superior heat dissipation and durability but may produce more brake dust and noise. Organic pads are the most budget-friendly option but typically wear faster than other materials.
When choosing auto brake pads, consider your driving habits, vehicle weight, and performance requirements. Heavy-duty vehicles or those used for towing benefit from semi-metallic formulations that handle heat buildup better. For luxury vehicles where quiet operation is paramount, premium ceramic pads justify their higher cost through superior refinement. Always verify that your chosen pads meet or exceed OEM specifications and carry proper certifications for your specific vehicle application.
Safety Preparations and Vehicle Setup
Proper Vehicle Positioning and Support
Safety must be your top priority when working on brake systems, as any mistakes can have life-threatening consequences. Begin by parking on a level, solid surface away from traffic, engaging the parking brake firmly, and placing wheel chocks behind the wheels that will remain on the ground. If you're working on front brakes, chock the rear wheels, and vice versa. This prevents the vehicle from rolling during the repair process.
When using your floor jack, locate the proper lifting points specified in your owner's manual to avoid damaging the vehicle's frame or body panels. Lift the vehicle high enough to remove the wheels comfortably and immediately place jack stands under secure support points. Lower the jack slightly so the vehicle's weight rests entirely on the stands, then give the car a gentle shake to ensure stability before proceeding with any work underneath.
Initial Inspection and Assessment
Before removing any components, perform a thorough visual inspection of the entire brake system to identify potential issues that may complicate the installation. Look for signs of brake fluid leaks around the calipers, master cylinder, and brake lines, as these problems should be addressed before installing new pads. Examine the brake rotors for excessive wear, deep grooves, or warping that might require resurfacing or replacement.
Check the brake fluid level in the master cylinder reservoir and note its color and consistency. Dark, contaminated fluid should be flushed and replaced during the pad installation process. Inspect the caliper slide pins and boots for damage or excessive corrosion, as seized calipers can cause uneven pad wear and reduced braking performance. Taking time for this initial assessment helps identify additional maintenance needs and ensures your new auto brake pads will perform optimally.
Step-by-Step Brake Pad Removal Process
Accessing the Brake Components
With your vehicle safely supported and wheels removed, you'll have clear access to the brake calipers and pads. Most modern vehicles use disc brakes with a floating caliper design that allows relatively straightforward pad replacement. Begin by spraying the entire brake assembly with brake cleaner to remove accumulated dust and debris, taking care to avoid breathing the particles or getting cleaner on painted surfaces.
Locate the caliper mounting bolts, which are typically found on the back side of the caliper bracket. These bolts may be hex head, Torx, or specialized designs depending on your vehicle manufacturer. Some calipers use slide pins that require removal of protective caps before accessing the bolts. Take photos of the assembly before disassembly to reference proper component positioning during reassembly.
Caliper and Pad Removal Techniques
Remove the lower caliper bolt first while supporting the caliper weight to prevent strain on the brake line. Most installations allow the caliper to pivot upward on the upper mounting point, providing access to the brake pads without completely disconnecting the hydraulic line. If both bolts must be removed, support the caliper with a wire hanger or bungee cord to prevent damage to the brake hose.
The old auto brake pads may be held in place by metal clips, springs, or simple friction fit depending on your vehicle's design. Note the orientation and position of any anti-rattle clips or shims, as these must be properly installed with the new pads. Some pads have wear indicators or electronic sensors that require careful disconnection before removal. Clean the caliper bracket thoroughly with a wire brush to remove rust and debris that could interfere with proper pad seating.
Installing Your New Auto Brake Pads
Preparing the Caliper and Bracket
Before installing new pads, the caliper piston must be compressed to accommodate the increased thickness of fresh brake material. Use a caliper compression tool or large C-clamp to slowly push the piston back into its bore, but first remove some brake fluid from the master cylinder reservoir to prevent overflow. As you compress the piston, old fluid will be forced back through the brake lines into the reservoir.
Apply a thin layer of high-temperature brake grease to the caliper slide pins and contact points where the pads ride in the bracket. This lubrication prevents squealing and ensures smooth operation throughout the pad's service life. Avoid getting grease on the rotor surface or pad friction material, as this will severely compromise braking performance and may cause dangerous fade under heavy use.
Proper Pad Installation and Alignment
Install any anti-rattle clips, shims, or hardware that came with your new auto brake pads according to the manufacturer's instructions. These components are engineered to reduce noise and vibration while ensuring proper pad positioning within the caliper bracket. Some premium pad sets include specialized shims or dampening materials that must be correctly oriented for optimal performance.
Position the new pads in the caliper bracket, ensuring they sit flush against the mounting surfaces and move freely without binding. The pad with the wear indicator or sensor wire typically goes on the inboard position, closest to the vehicle centerline. Double-check that all clips and hardware are properly seated before proceeding with caliper installation, as missing or incorrectly positioned components can cause noise, uneven wear, or pad failure.
Final Assembly and System Testing
Caliper Reinstallation and Torque Specifications
Carefully lower the caliper over the new brake pads, ensuring the piston face contacts the pad backing plate evenly. Apply thread locker to the caliper mounting bolts if specified by the manufacturer, then install and tighten them to the proper torque specification using a calibrated torque wrench. Under-tightened bolts can work loose and cause catastrophic brake failure, while over-tightening may strip threads or crack the caliper housing.
Most passenger car caliper bolts require between 70-100 foot-pounds of torque, but always consult your vehicle's service manual for exact specifications. Reinstall the wheels and lug nuts, lowering the vehicle back to the ground before final tightening. This ensures the wheel bearings are properly loaded when the lug nuts reach their specified torque value, typically ranging from 80-120 foot-pounds depending on the vehicle.
Brake System Bleeding and Initial Testing
After completing the physical installation, you must restore proper brake pedal feel by bleeding any air that may have entered the hydraulic system. Start the engine and slowly pump the brake pedal several times to seat the pads against the rotors and restore normal pedal height. The pedal should feel firm and consistent without excessive travel or sponginess.
Check the brake fluid level in the master cylinder reservoir and top off with fresh DOT 3 or DOT 4 fluid as specified for your vehicle. Test the brakes at low speed in a safe area before returning to normal driving, ensuring they engage smoothly without pulling to one side or producing unusual noises. Any grinding, squealing, or vibration indicates a problem that must be addressed before the vehicle is safe to drive.
Break-In Procedure and Maintenance Tips
Proper Brake Pad Bedding Process
New auto brake pads require a proper break-in period to achieve optimal performance and longevity. This bedding process transfers a thin layer of friction material to the rotor surface, creating the ideal interface for consistent stopping power. Begin with gentle stops from moderate speeds, gradually increasing the force and speed over the first 200-300 miles of driving.
Avoid hard stops or extended brake applications during the initial break-in period, as this can cause glazing or uneven material transfer that reduces braking effectiveness. Highway driving with minimal brake use is ideal during the first few hundred miles, allowing the pads and rotors to mate properly. Some high-performance pads may require a more aggressive bedding procedure involving repeated stops from highway speeds, so always follow the manufacturer's specific recommendations.
Long-Term Maintenance and Inspection
Regular inspection and maintenance ensure your auto brake pads provide reliable service throughout their expected lifespan. Check pad thickness every 10,000-15,000 miles or during routine tire rotations, looking for signs of uneven wear that might indicate caliper problems or contamination. Most pads have built-in wear indicators that produce an audible squeal when replacement is needed.
Keep brake components clean by periodically washing away accumulated road salt, dirt, and debris that can accelerate corrosion and wear. Annual brake fluid changes help maintain hydraulic system integrity and prevent internal corrosion that can lead to expensive repairs. Address any unusual noises, vibrations, or changes in pedal feel immediately, as these symptoms often indicate developing problems that are less expensive to fix when caught early.
FAQ
How often should auto brake pads be replaced
Auto brake pads typically last between 25,000 to 70,000 miles depending on driving conditions, pad material, and vehicle weight. City driving with frequent stops wears pads faster than highway driving, while aggressive driving styles significantly reduce pad life. Most manufacturers recommend inspection every 12,000 miles and replacement when pad thickness reaches 3-4 millimeters.
Can I replace brake pads without replacing rotors
You can install new brake pads on existing rotors if the rotors are within specification for thickness, runout, and surface condition. Rotors should be resurfaced or replaced if they show deep grooves, excessive wear, or warping. Many shops recommend rotor replacement when installing new pads to ensure optimal performance and prevent premature pad wear.
What causes brake pads to wear unevenly
Uneven brake pad wear typically results from sticking caliper slide pins, seized pistons, contaminated pads, or warped rotors. Poor quality installation, incorrect torque specifications, or missing hardware can also cause irregular wear patterns. Regular maintenance and proper installation techniques help prevent these issues and maximize pad life.
Is it safe to drive with worn brake pads
Driving with excessively worn brake pads is extremely dangerous and can result in complete brake failure. Worn pads reduce stopping power, increase stopping distances, and can damage expensive rotors if the backing plates contact the rotor surface. Replace brake pads immediately when wear indicators activate or pad thickness drops below manufacturer specifications.