 EN

How to Bed In New Ceramic Brake Pads and Rotors
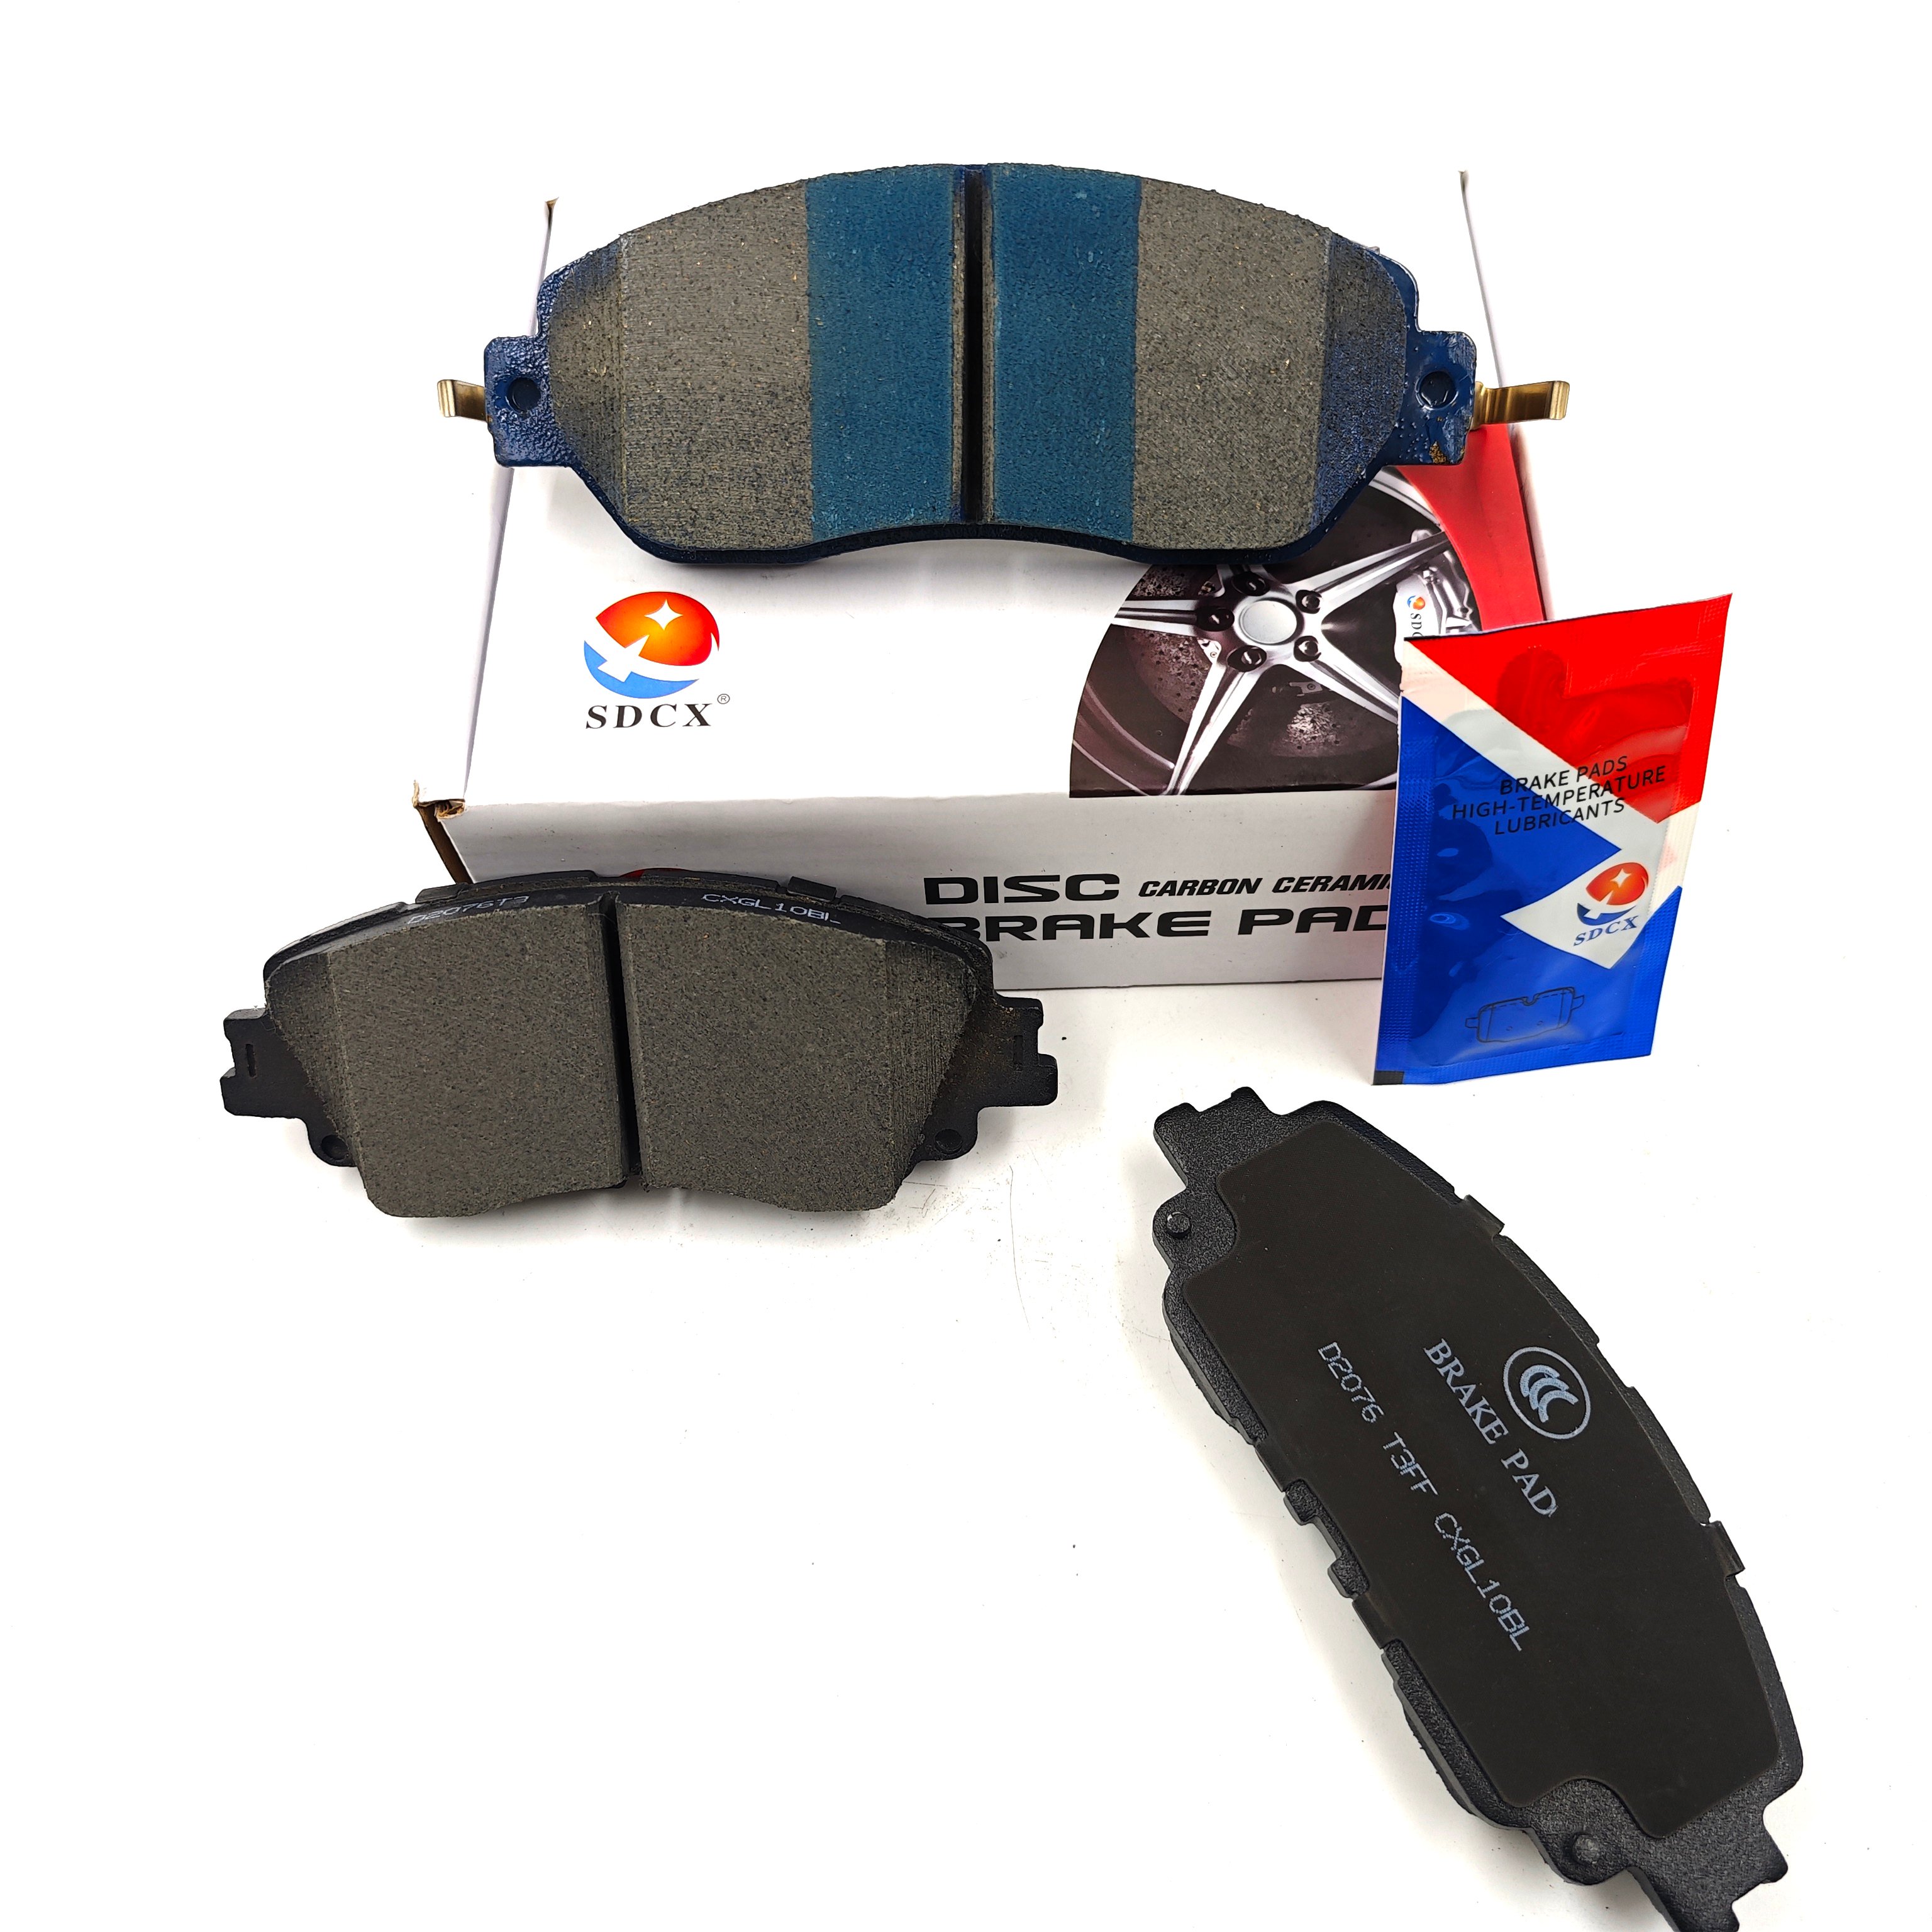
New ceramic brake pads and rotors need more than a careful installation. They also need a controlled first drive so the friction surfaces can begin working together. A ceramic brake pad bedding procedure uses measured brake applications and a cool-down period to establish an even transfer layer on the rotor face. That layer helps the pad contact the disc consistently, which is the real purpose of bedding—not a race to make the brakes hot.
From an aftermarket application perspective, the first question is not “how hard should I brake?” It is whether the installed parts are correct for the vehicle and whether the brake system is ready for a road test. Vehicle and pad manufacturers may specify a different sequence, so their instructions take priority over this general guidance.
Why new ceramic pads and rotors need bedding
A new pad and a new rotor have fresh friction surfaces. During a ceramic brake pad bedding procedure, moderate friction and heat help deposit a thin, even layer of pad material onto the rotor. This is often called a transfer layer. It gives subsequent braking a more uniform working surface than untreated parts have immediately after installation.
That is why simply driving normally after a brake job may not give the same result as a deliberate break-in. On the other hand, aggressive stops on cold components can overheat a small area before the surfaces have settled. The goal is gradual conditioning. Ceramic compounds can be low-dust and quiet in the right application, but neither material type nor a new rotor removes the need for correct fitment, clean hardware, and a sensible bedding cycle.
Check the installation before the first road test
Before beginning the ceramic brake pad bedding procedure, inspect the work with the vehicle safely supported and then perform a low-speed test in a controlled area. Confirm that:
- The pads, rotors, shims, clips, and hardware match the vehicle application.
- The rotor faces are clean and free from packaging oil or shop contamination.
- Caliper slide pins and piston movement have been assessed according to the vehicle service information.
- Fasteners have been tightened using the manufacturer’s specified sequence and torque.
- The brake pedal is firm before the vehicle enters traffic.
- There are no fluid leaks, warning lights, rubbing noises, or wheel-interference concerns.
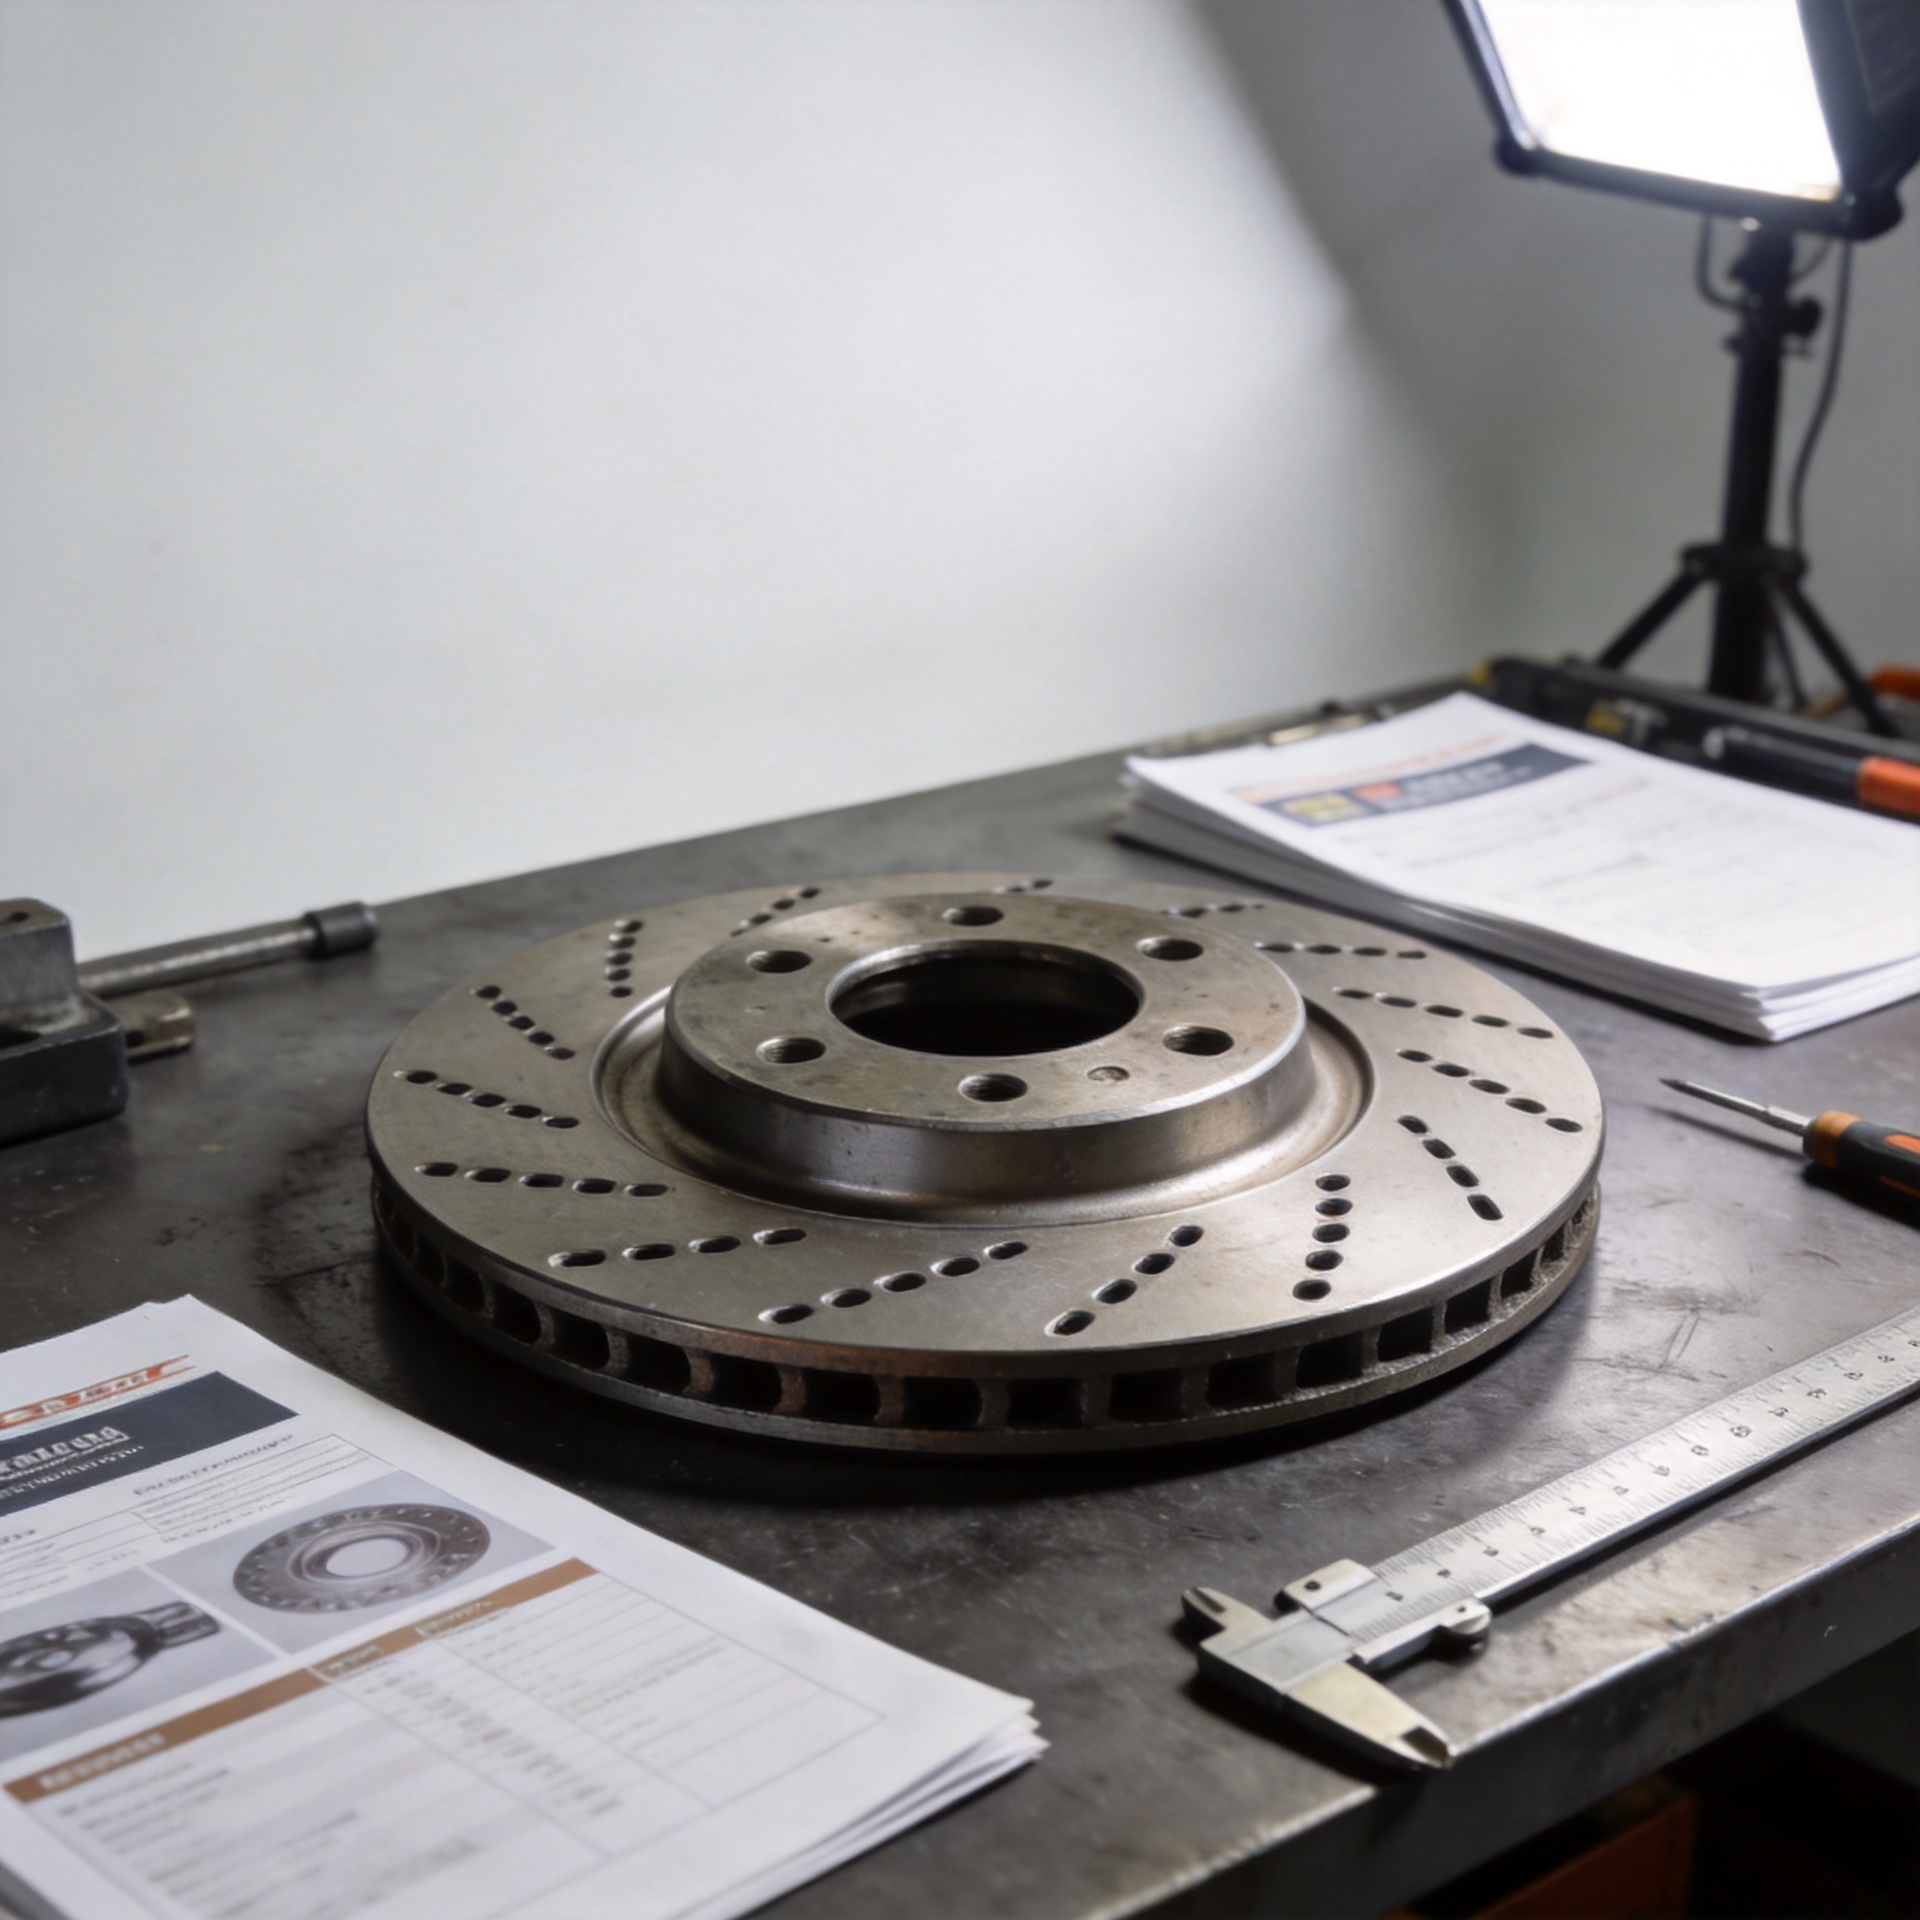
Rotor condition matters even when the discs are new. If you are change brakes and rotors as part of routine service, confirm the correct part number and do not use a rotor below its marked or specified minimum thickness. A bedding routine cannot correct a warped mounting surface, a sticking caliper, contaminated pad material, or a hydraulic fault.
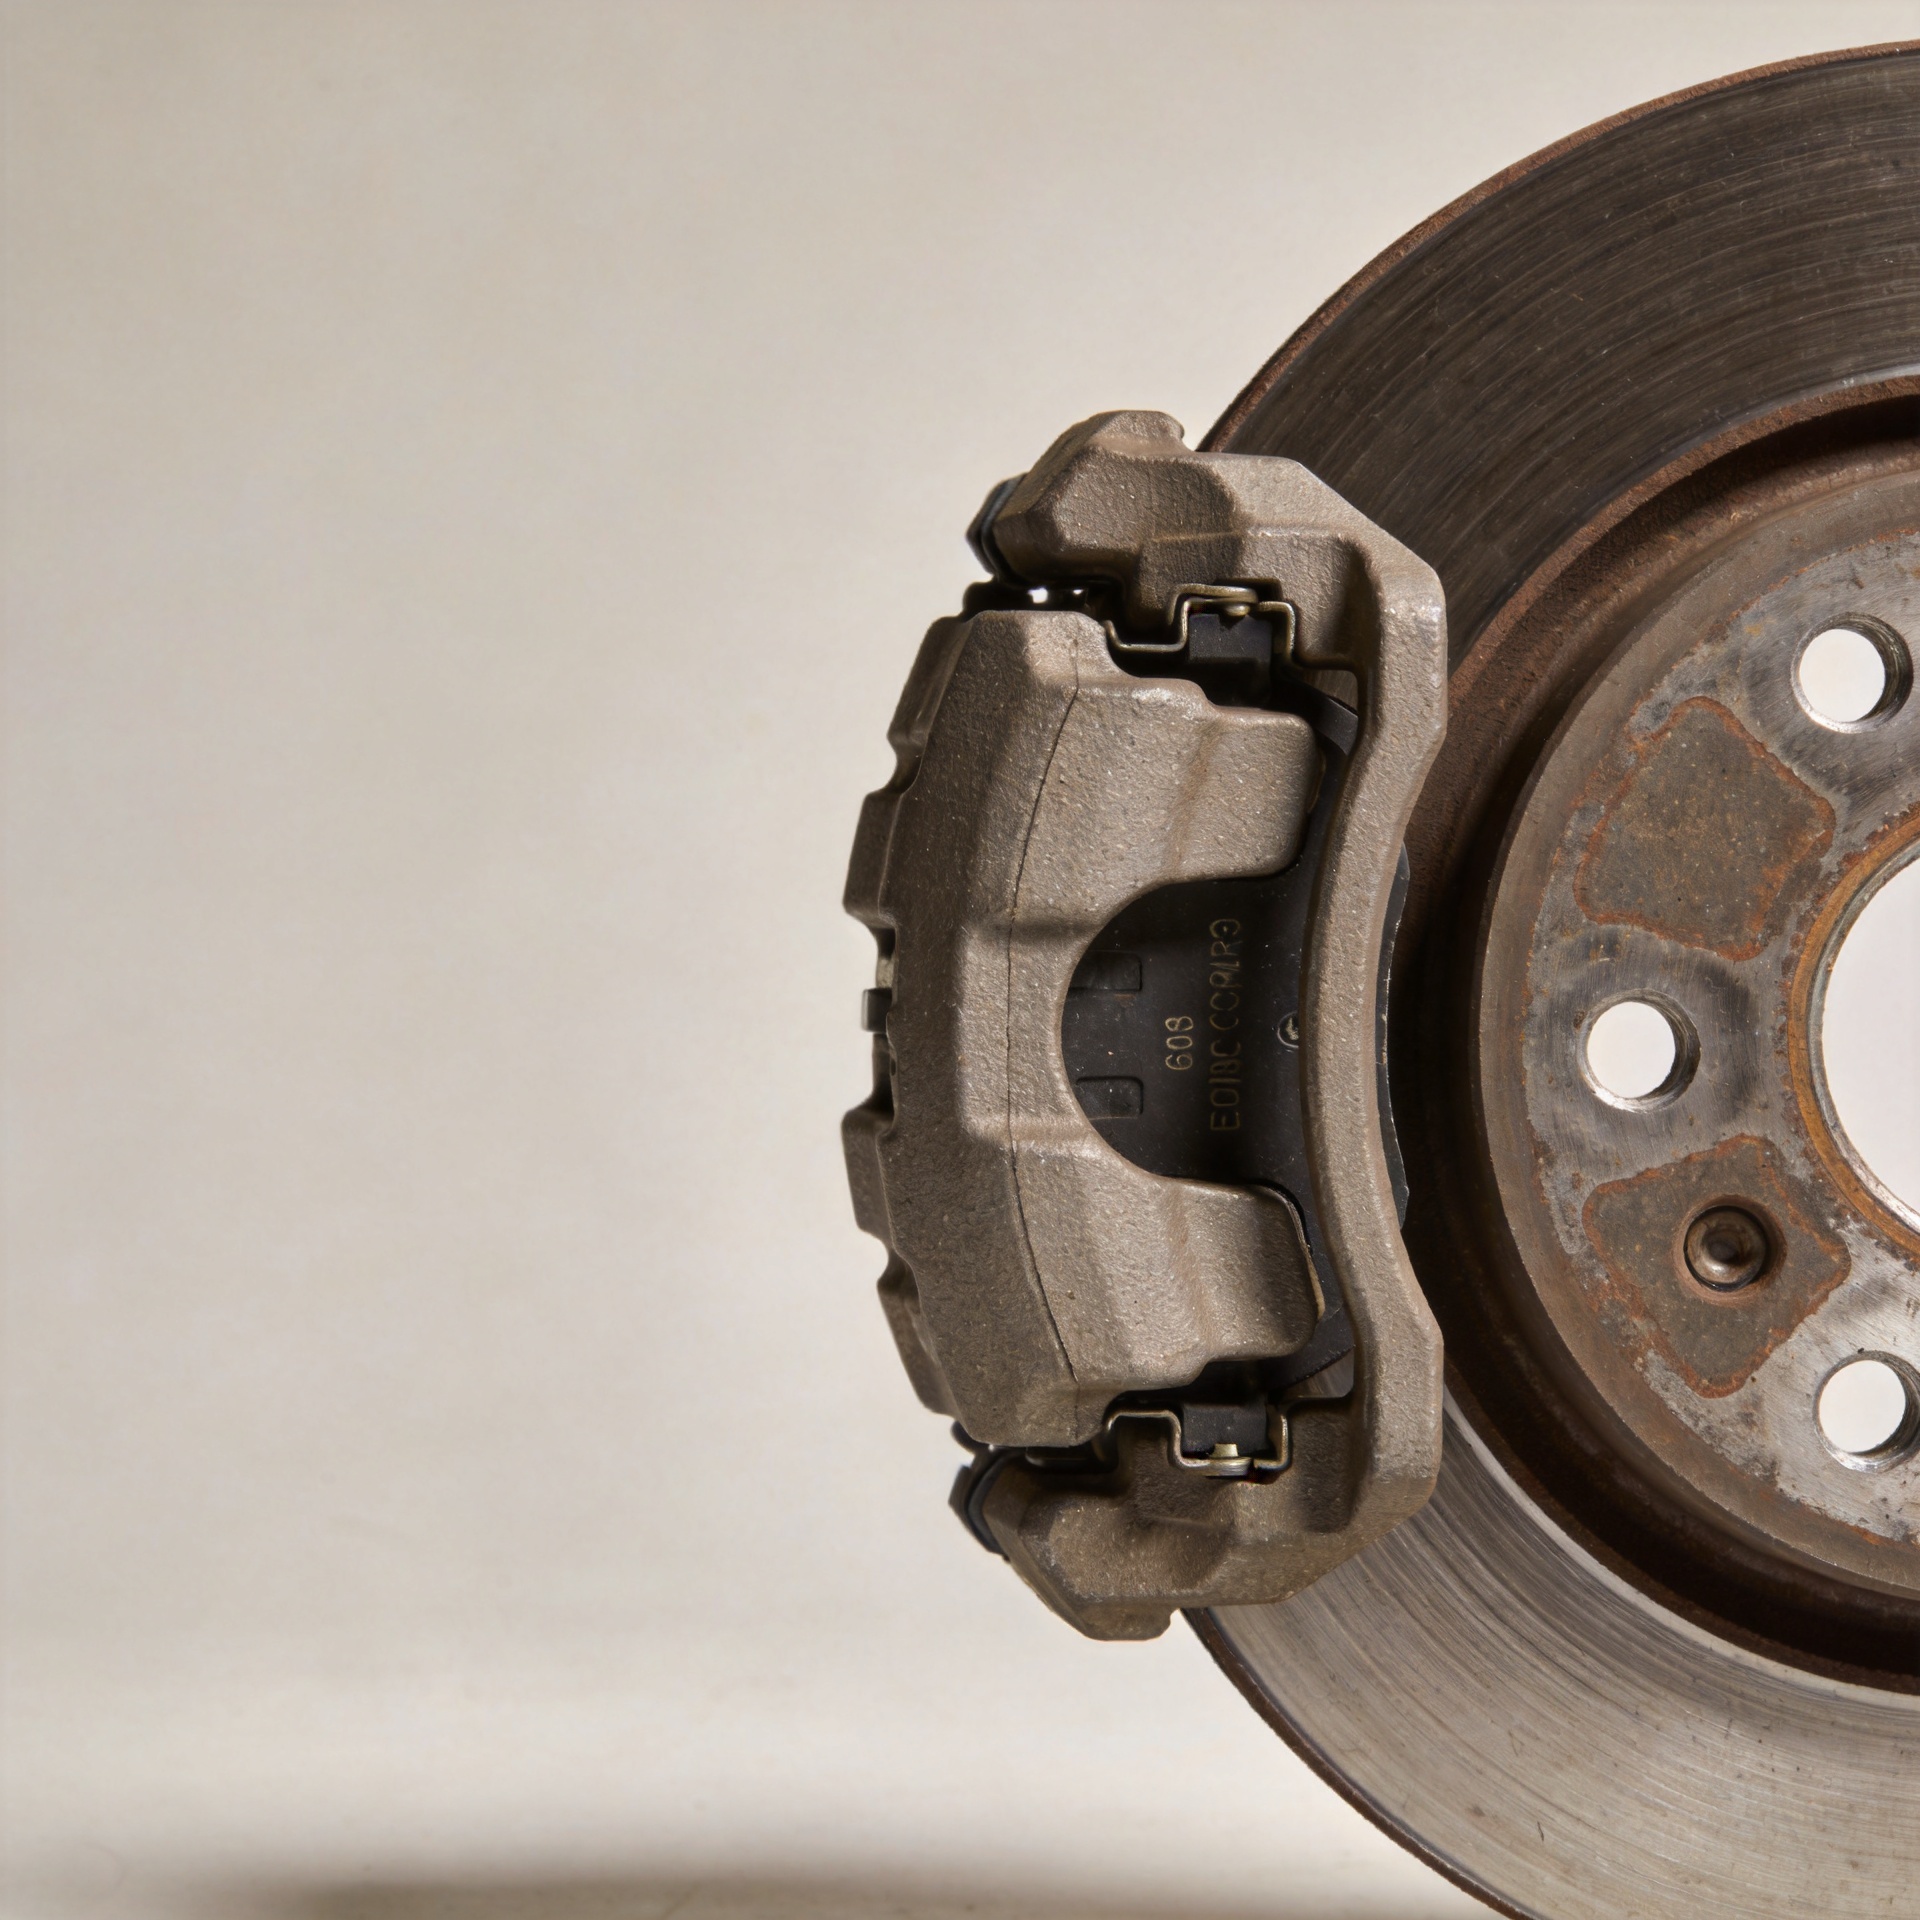
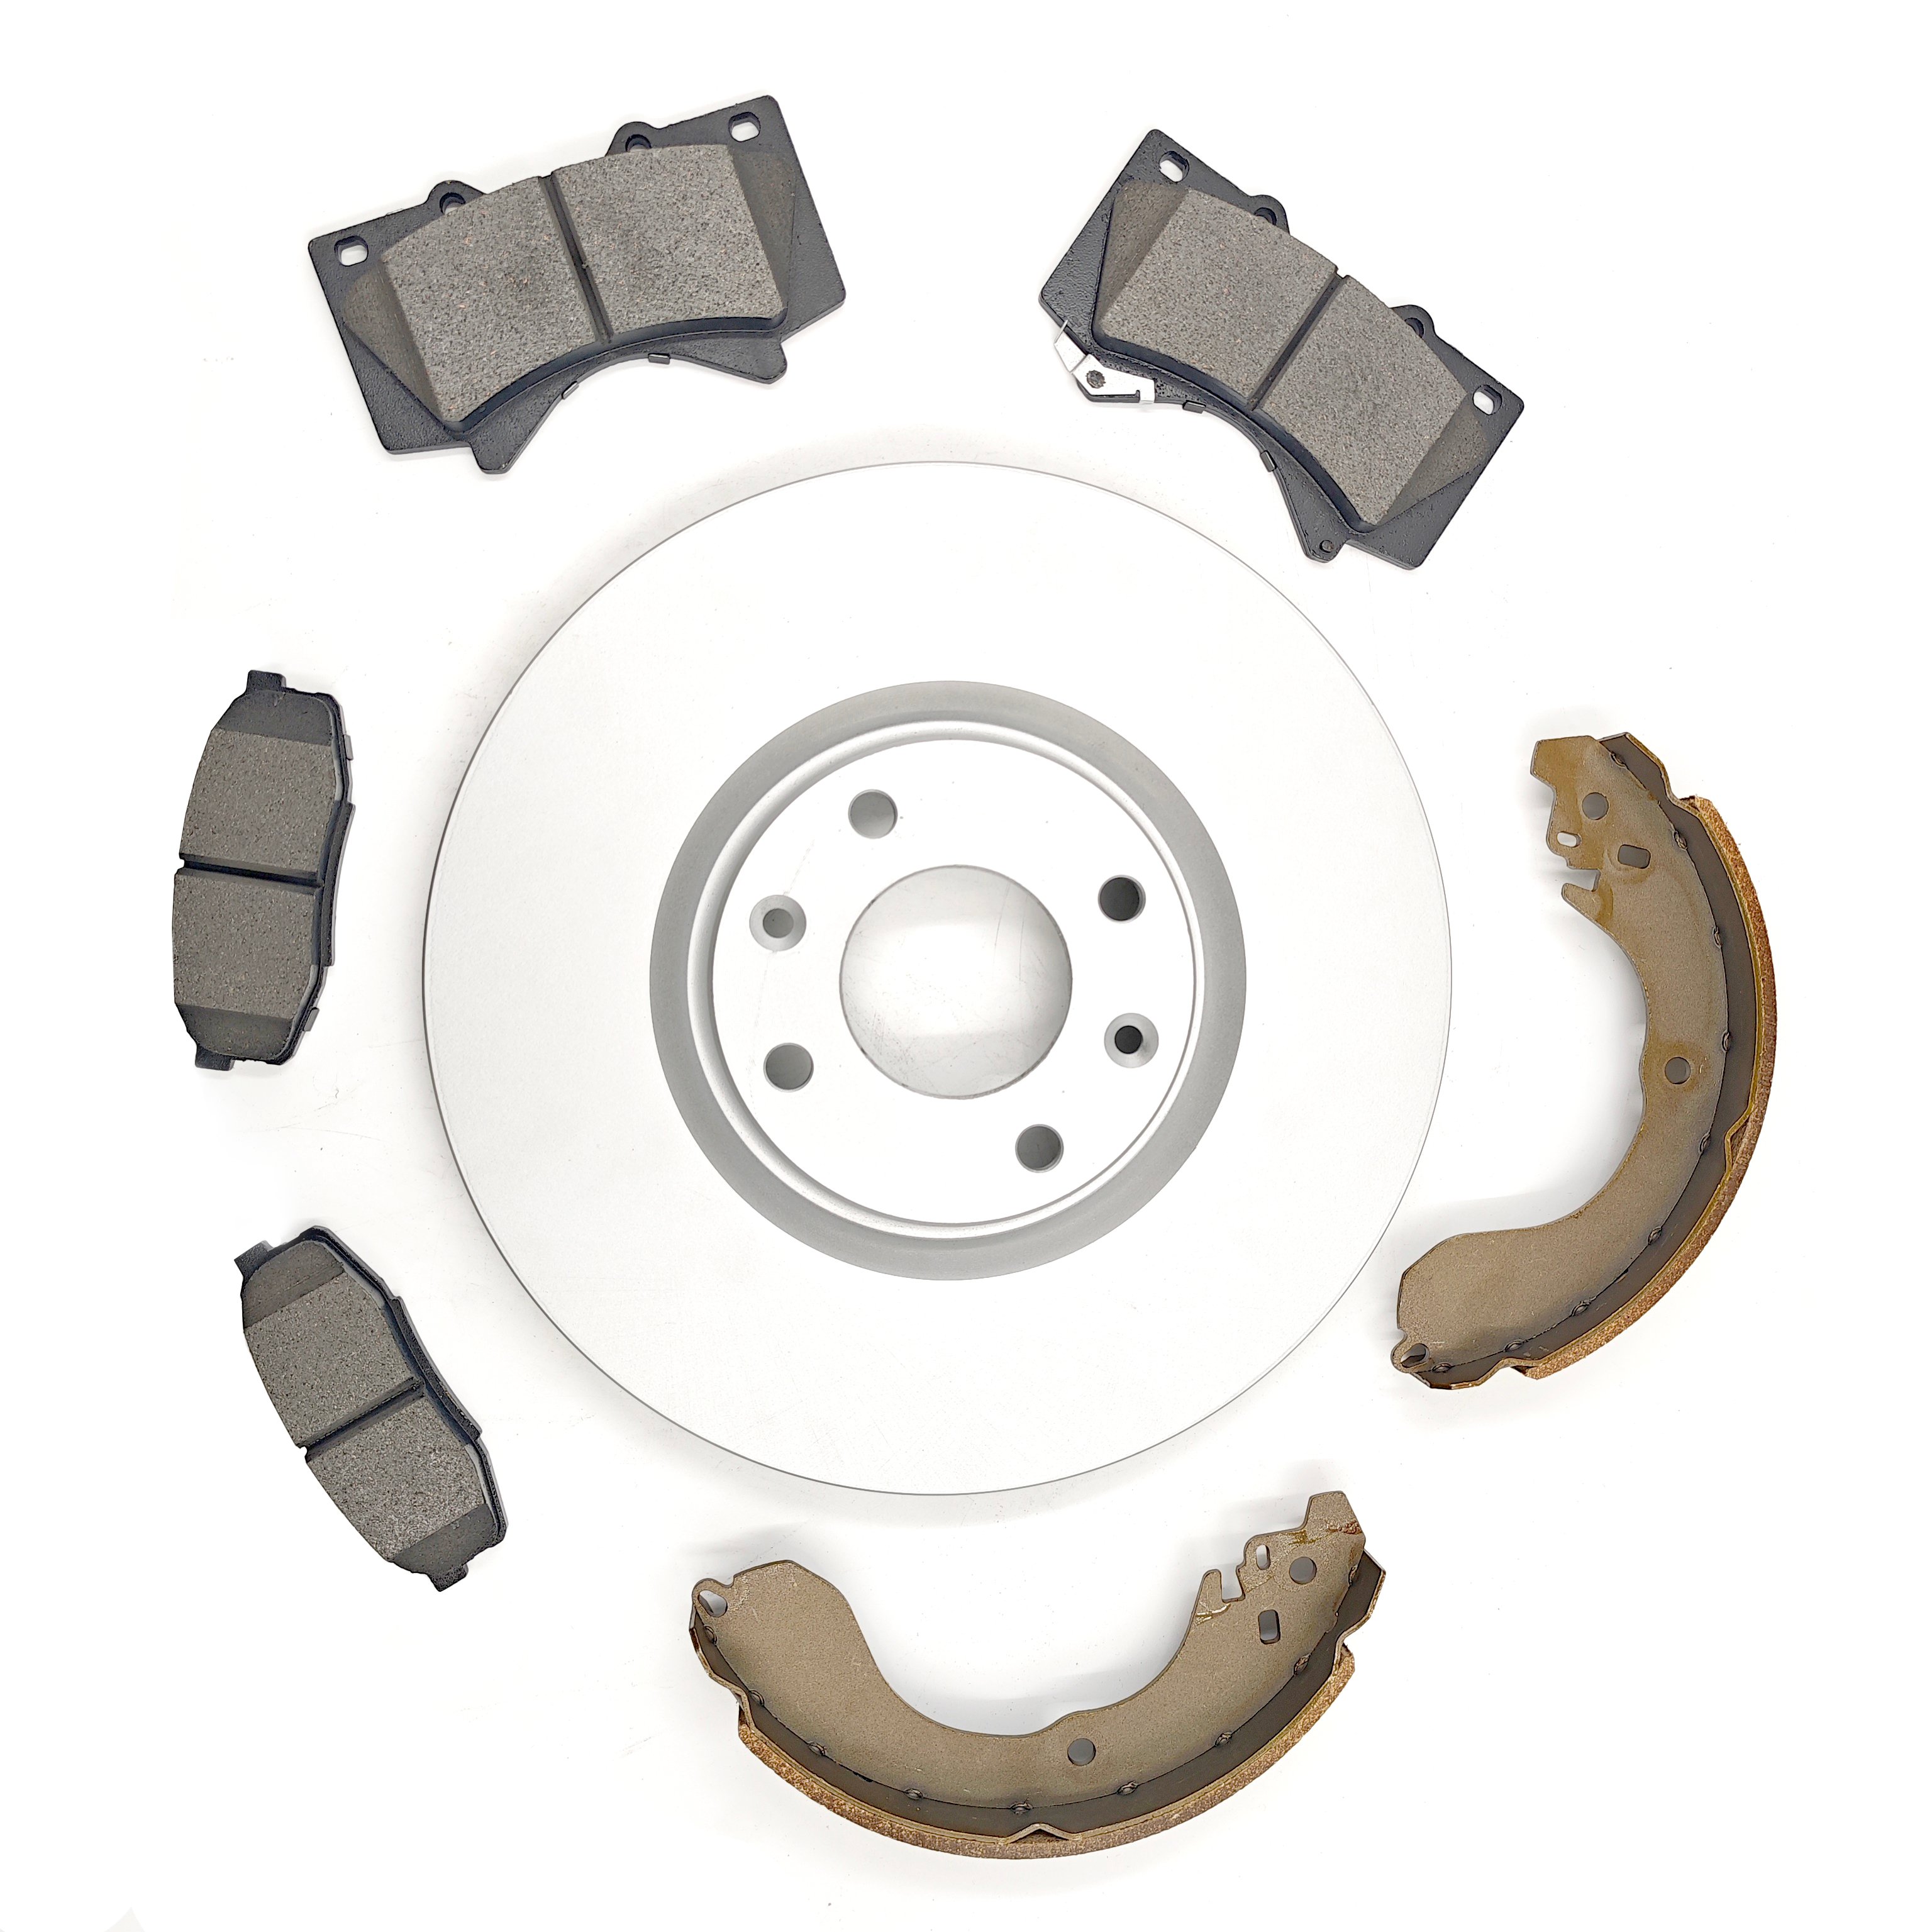 A controlled bedding cycle helps establish an even pad-material transfer layer on a clean rotor surface.
A conservative ceramic brake pad bedding procedure
Use an open road or other legal, low-traffic area where repeated deceleration can be performed safely. Avoid a procedure that calls for exact speeds or stop counts unless it comes from the pad or vehicle maker; those requirements vary by friction formulation and vehicle mass. The following sequence is a conservative general approach:
- Warm up gently. Drive for several minutes with light, ordinary brake use. Listen for abnormal scraping, grinding, pull, or a soft pedal.
- Make several medium decelerations. From a moderate road speed, apply the brakes firmly enough to slow the vehicle in a controlled manner, then release them before stopping. Accelerate back to a safe speed and repeat. The aim is repeatable, moderate heat—not emergency-stop force.
- Keep the vehicle moving between applications. Give the brakes time to shed some heat while cruising between each deceleration. This prevents one small area of the rotor from being loaded continuously.
- Finish with a cool-down drive. Drive with little or no brake input for several minutes when road conditions allow. This cooling phase is part of the ceramic brake pad bedding procedure, not an optional extra.
- Park thoughtfully. After a hot sequence, avoid holding the pedal down at a long stop when a safe alternative is available. Holding a hot pad against one rotor position can leave an uneven deposit.
Do not try to judge success by smoke or a noticeable odor. Mild odor can occur as coatings or resins heat cycle, but persistent smoke, a burning smell that does not fade, severe vibration, or brake pull calls for inspection. Stop the test if braking response is abnormal.
Common bedding mistakes to avoid
The most common mistake is treating every pad compound alike. A track-oriented procedure may be unsuitable for a street ceramic pad, and a generic online sequence may conflict with the component supplier’s documentation. Use the supplied procedure whenever it is available.
Other avoidable problems include stopping hard from highway speed on the first application, resting a foot on the pedal between stops, skipping the cool-down phase, and bedding brakes before checking pedal feel. Another issue appears when installers change brakes and rotors but reuse compromised hardware or overlook a binding caliper. In those cases, the symptoms may return even if the transfer layer forms correctly.
What to look for after bedding
After the brakes have cooled, make a normal road test. The pedal should remain consistent, the vehicle should not pull during ordinary braking, and the brake system should not produce a repeating vibration through the pedal or steering wheel. A light initial sound can sometimes settle as new surfaces condition, but continuous grinding, a metal-on-metal scrape, or a warning light is not a bedding-in symptom to ignore.
For replacement-maintenance teams, record the part numbers, wheel torque, test conditions, and any customer-reported symptoms. That record gives a later inspection more to work with than a vague note that the brakes were “broken in.” If your parts program needs a ceramic-pad option or a matched disc reference, review the applicable product information for the vehicle rather than selecting by appearance alone.
Choosing compatible replacement components
A good ceramic brake pad bedding procedure begins with compatible components. For example, a replacement disc should match the vehicle application and be installed with its friction face protected from contamination. The product record for SDCX 1647867480 RN1861V Brake Disc can be reviewed as a catalog reference where its listed fitment matches the vehicle being serviced. Check application data before ordering or installation.
FAQ: bedding new ceramic brakes
How long does bedding take?
The active braking portion is usually short, followed by a cool-down drive. The exact process depends on the pad maker, vehicle mass, rotor design, and road conditions. Follow the supplied instructions where they differ from this article.
Can I bed pads with old rotors?
It depends on measured rotor condition, surface condition, and the vehicle manufacturer’s service limits. A rotor with deep scoring, excessive runout, heat damage, or thickness below its limit should be addressed before new pads are fitted.
Should I bed brakes in heavy traffic?
No. Choose a safe, legal route with enough room to make controlled decelerations and allow a cool-down period. If road conditions do not permit it, postpone the process.
Final checklist
In practical terms: verify fitment, inspect the installation, use controlled moderate braking, let the system cool, and investigate anything that feels abnormal. A ceramic brake pad bedding procedure supports the new pad-and-rotor contact relationship, but it does not replace correct repair practices or vehicle-specific service instructions. When in doubt, stop the test and have the braking system checked by a qualified technician.