 EN

When Should Brake Pads and Rotors Be Replaced Together?
Deciding when to change brakes and rotors is not simply a matter of replacing whatever looks worn first. Brake pads and rotors work as a friction pair: the pads clamp the rotor, heat is managed through the disc, and the condition of each part affects the bedding-in of the other. For a vehicle owner, workshop, or distributor planning a repair, the practical question is whether the rotor still meets the vehicle manufacturer’s specification and presents a sound surface for the new pads.
A useful starting point is to inspect the full brake corner rather than assume that new pads automatically require new discs. When pad wear is accompanied by a rotor below minimum thickness, deep scoring, heat checking, corrosion in the swept area, or brake-pedal pulsation, replacing brake rotors and pads together is often the more defensible service decision. The exact limits remain vehicle-specific, so the relevant service manual and part specification should guide the final call.
Why the brake pad and rotor condition must be assessed as a pair
Brake pads are designed to transfer friction material against a rotor face that is within thickness, runout, and surface-condition limits. A new pad installed against a badly grooved or uneven disc may take longer to seat correctly and can inherit the contact pattern already present on that disc. That does not mean every used rotor needs replacement; it means that pad service should include a rotor inspection before any parts order is finalized.
In aftersales discussions, a change in thinking helps: mileage alone is not a complete diagnosis. Vehicle use, braking load, corrosion exposure, previous service history, and the measured condition of the disc change the decision. For fleet or wholesale planning, this approach also helps match the correct pad compound and disc application to the vehicle rather than treating all brake rotors and pads as interchangeable.
Signs that usually support changing brakes and rotors together
The rotor is at or below its specified minimum thickness
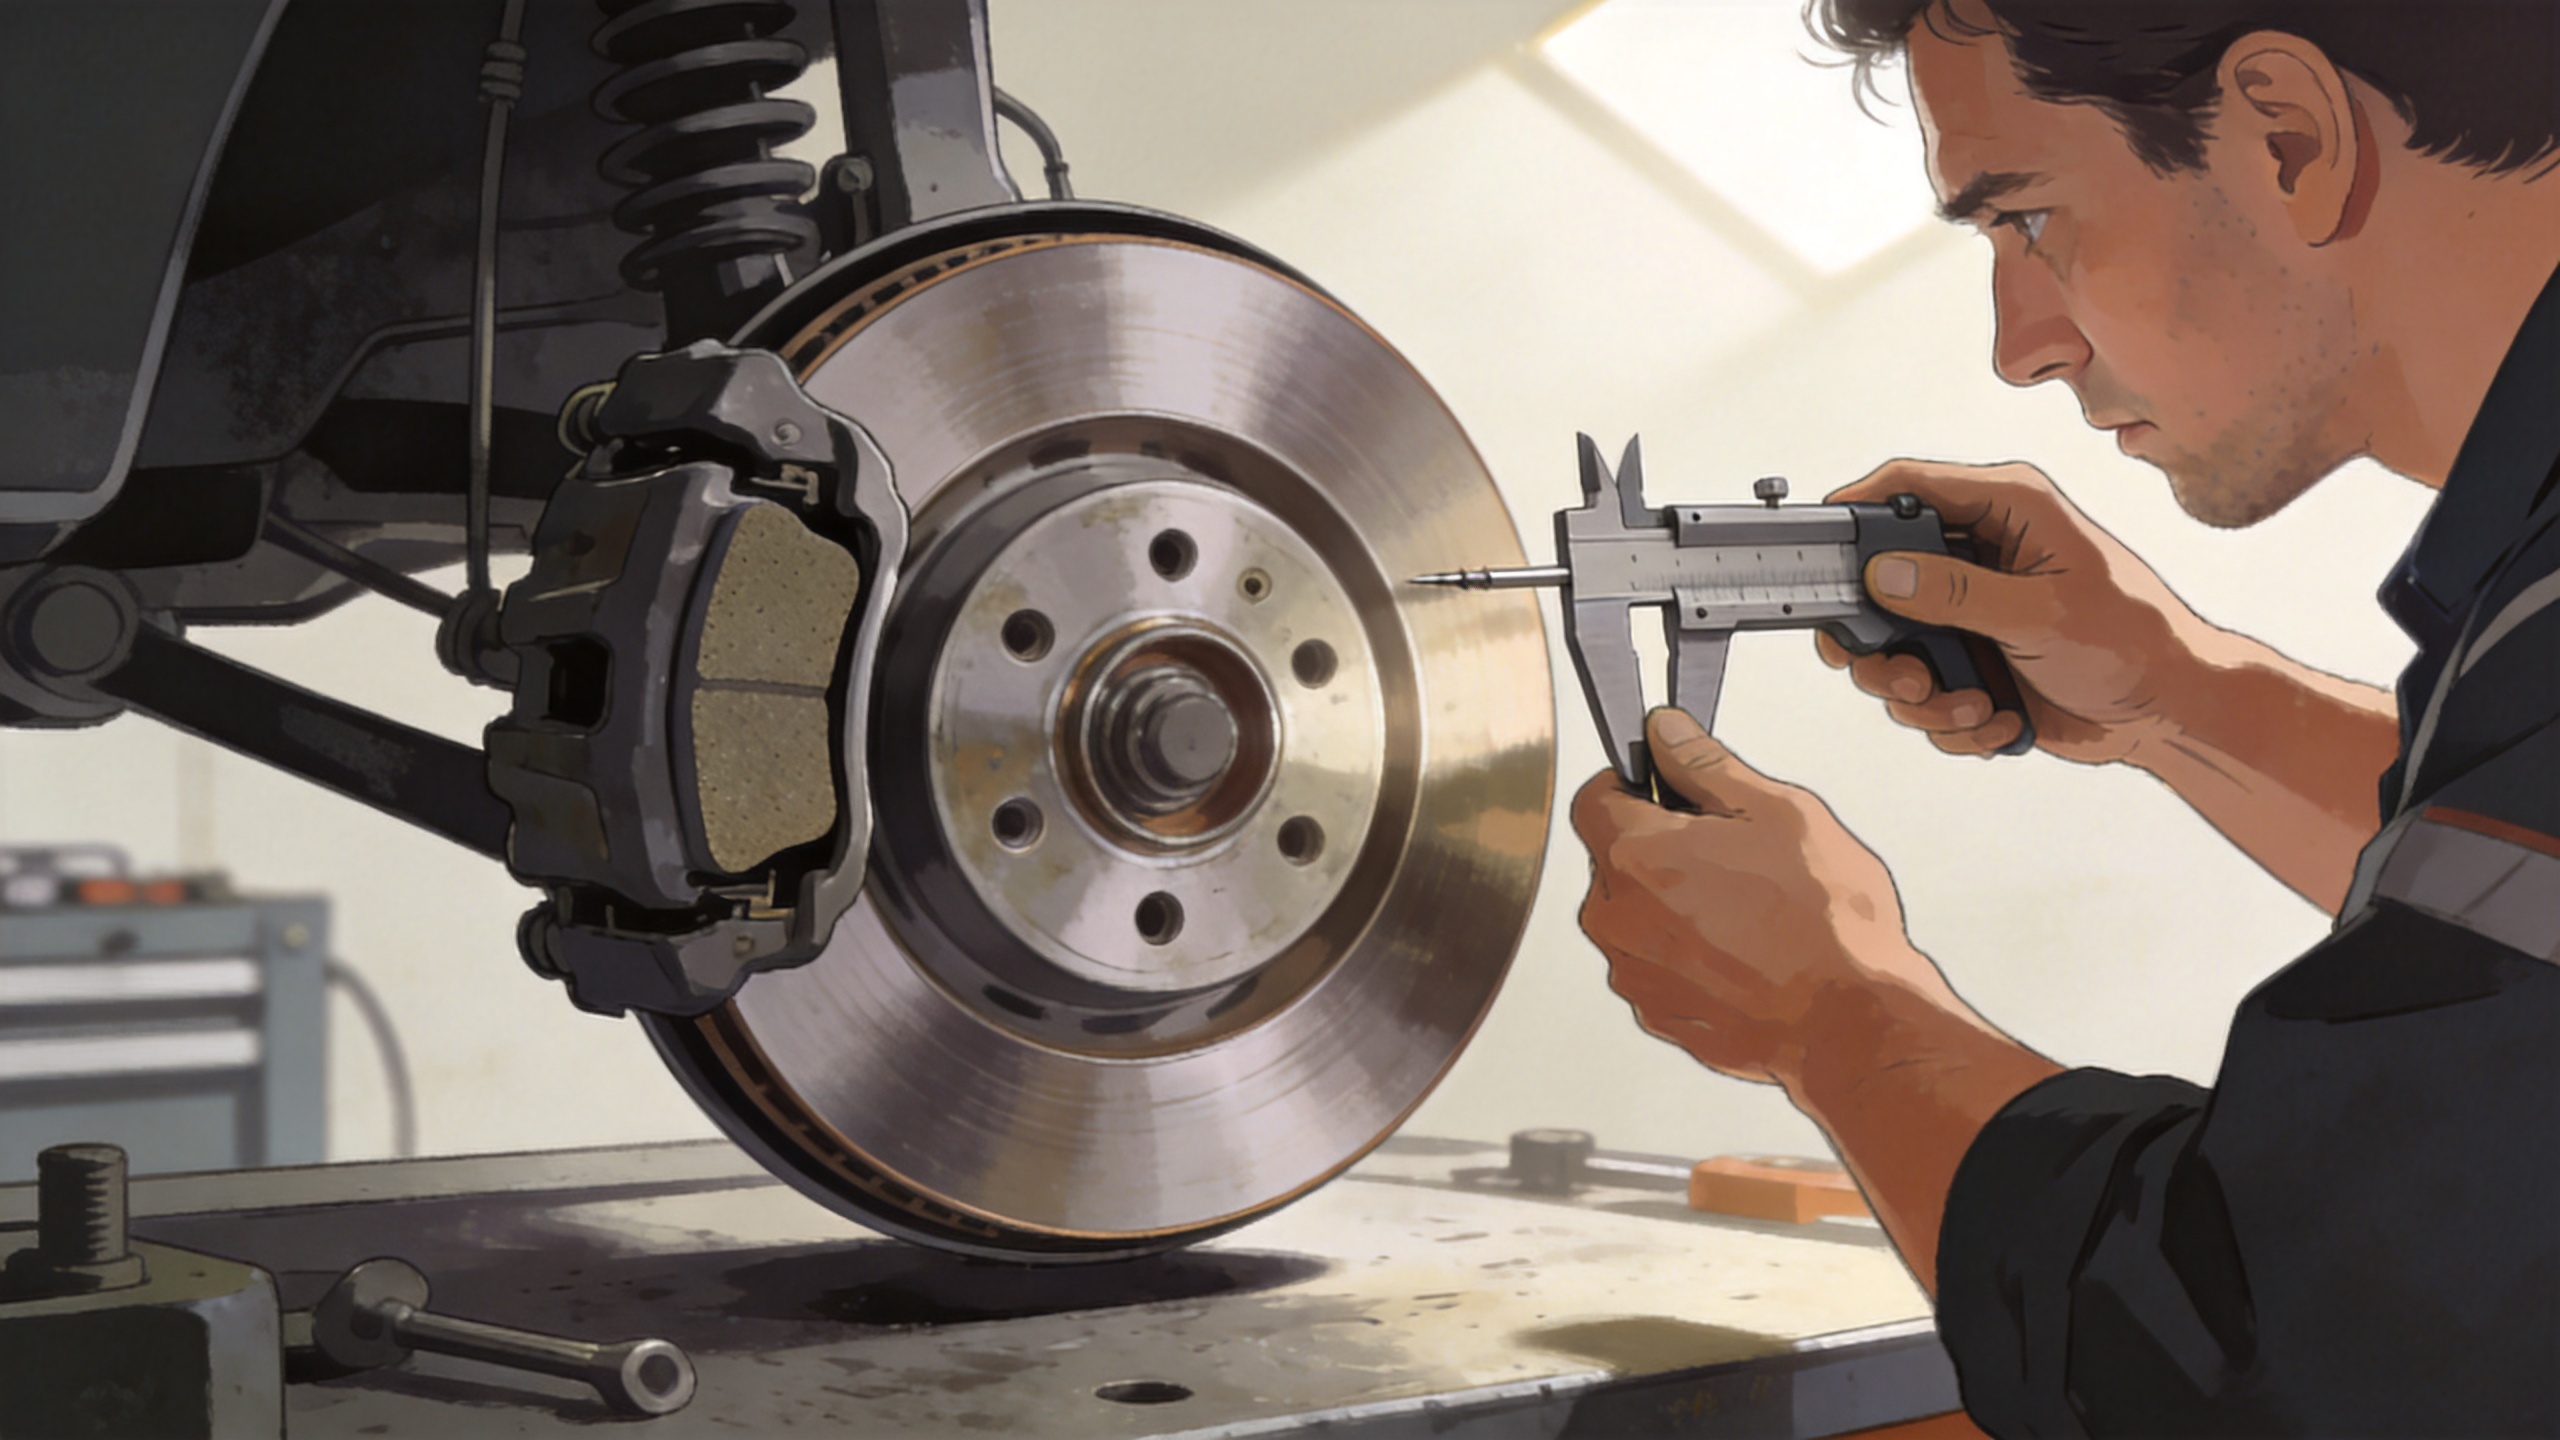
The minimum thickness is set for a particular rotor and vehicle application. If measurement at the thinnest usable swept area shows the disc is below the marked or service-manual limit, the rotor should be replaced. The same applies when resurfacing would leave the disc below specification. Avoid relying on a single generic thickness number: rotor design, original thickness, and wear limit differ by application.
The rotor face has damage that cannot be corrected within specification
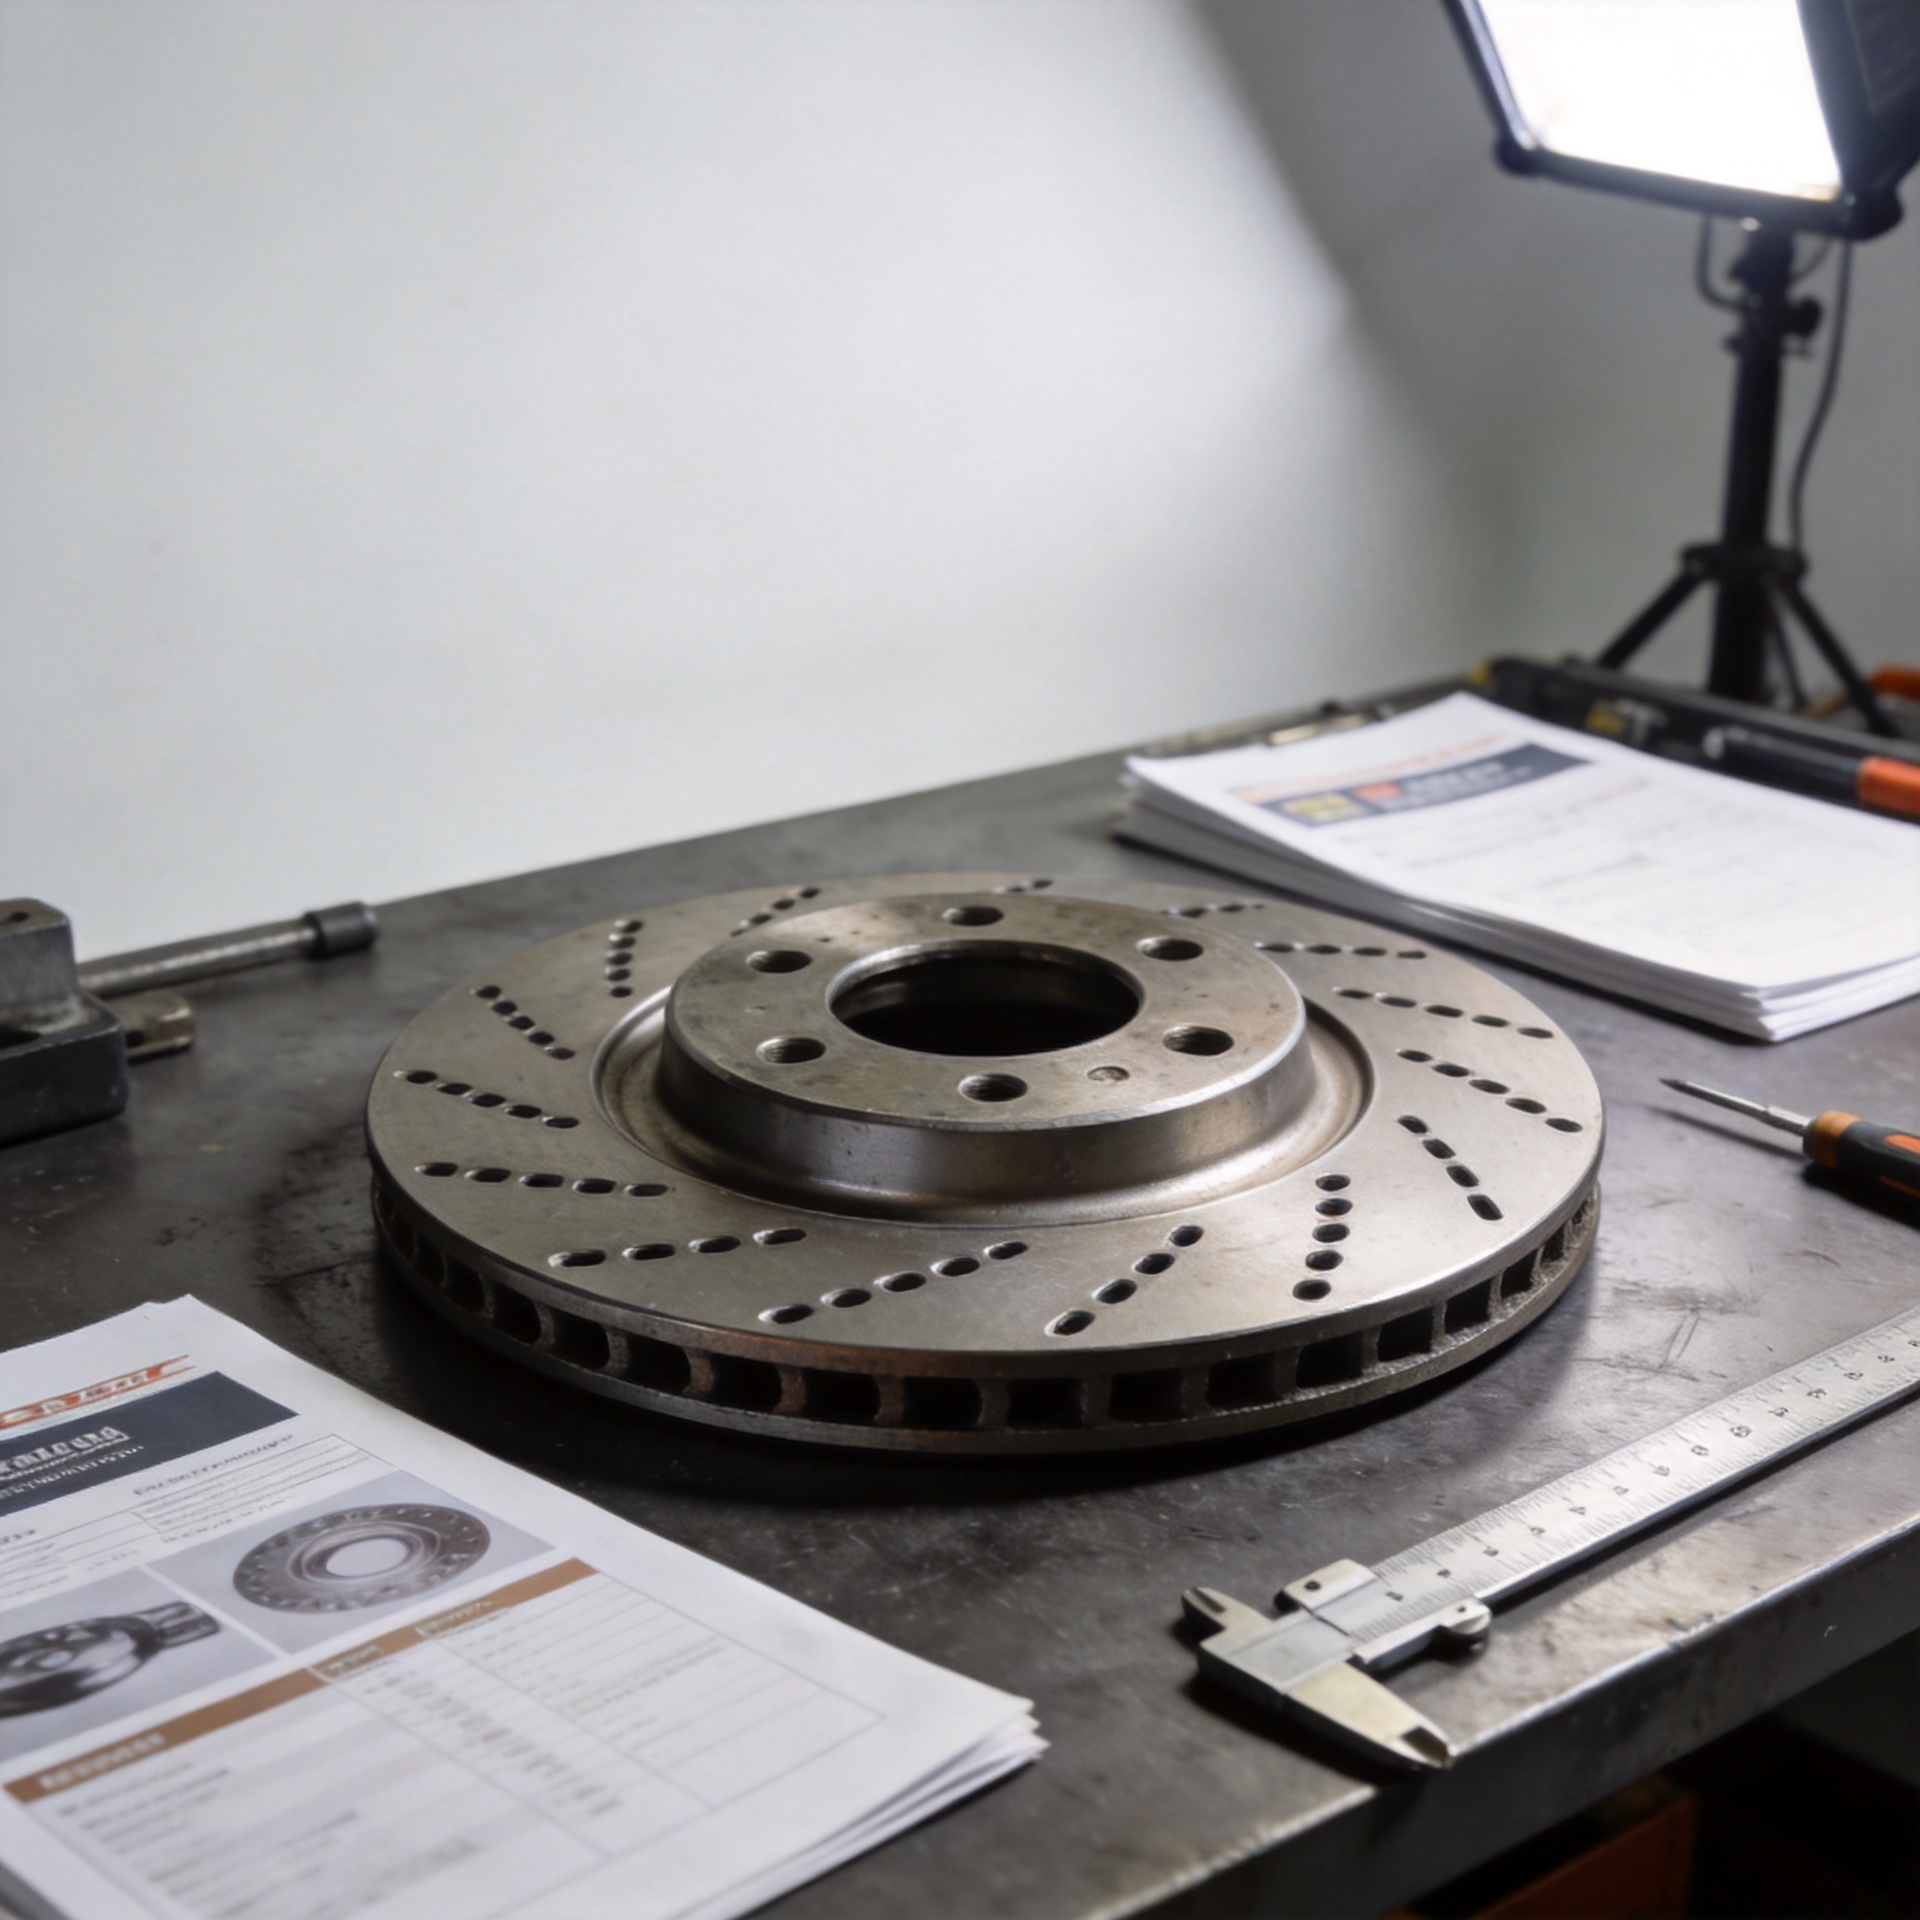
Deep grooves, severe lip formation, cracks, blue heat marks, or heavy corrosion can interrupt consistent pad contact. Some surface marks may be assessed during normal service, but a rotor that cannot be restored while remaining within its allowable thickness should not be paired with fresh pads. This is a condition check, not a cosmetic rule.
Braking produces pedal pulsation, vibration, or uneven response
Pulsation is often described as a “warped rotor,” but the diagnosis should go further. Lateral runout can contribute to disc-thickness variation, and thickness variation can be associated with pedal pulsation. Hub condition, mounting cleanliness, lug-nut tightening practice, caliper movement, and the rotor itself may all need inspection. When the disc condition is confirmed as the cause, it is sensible to change brakes and rotors as a matched service rather than fit new pads onto a compromised surface.
The old pads have worn unevenly or show heat-related damage
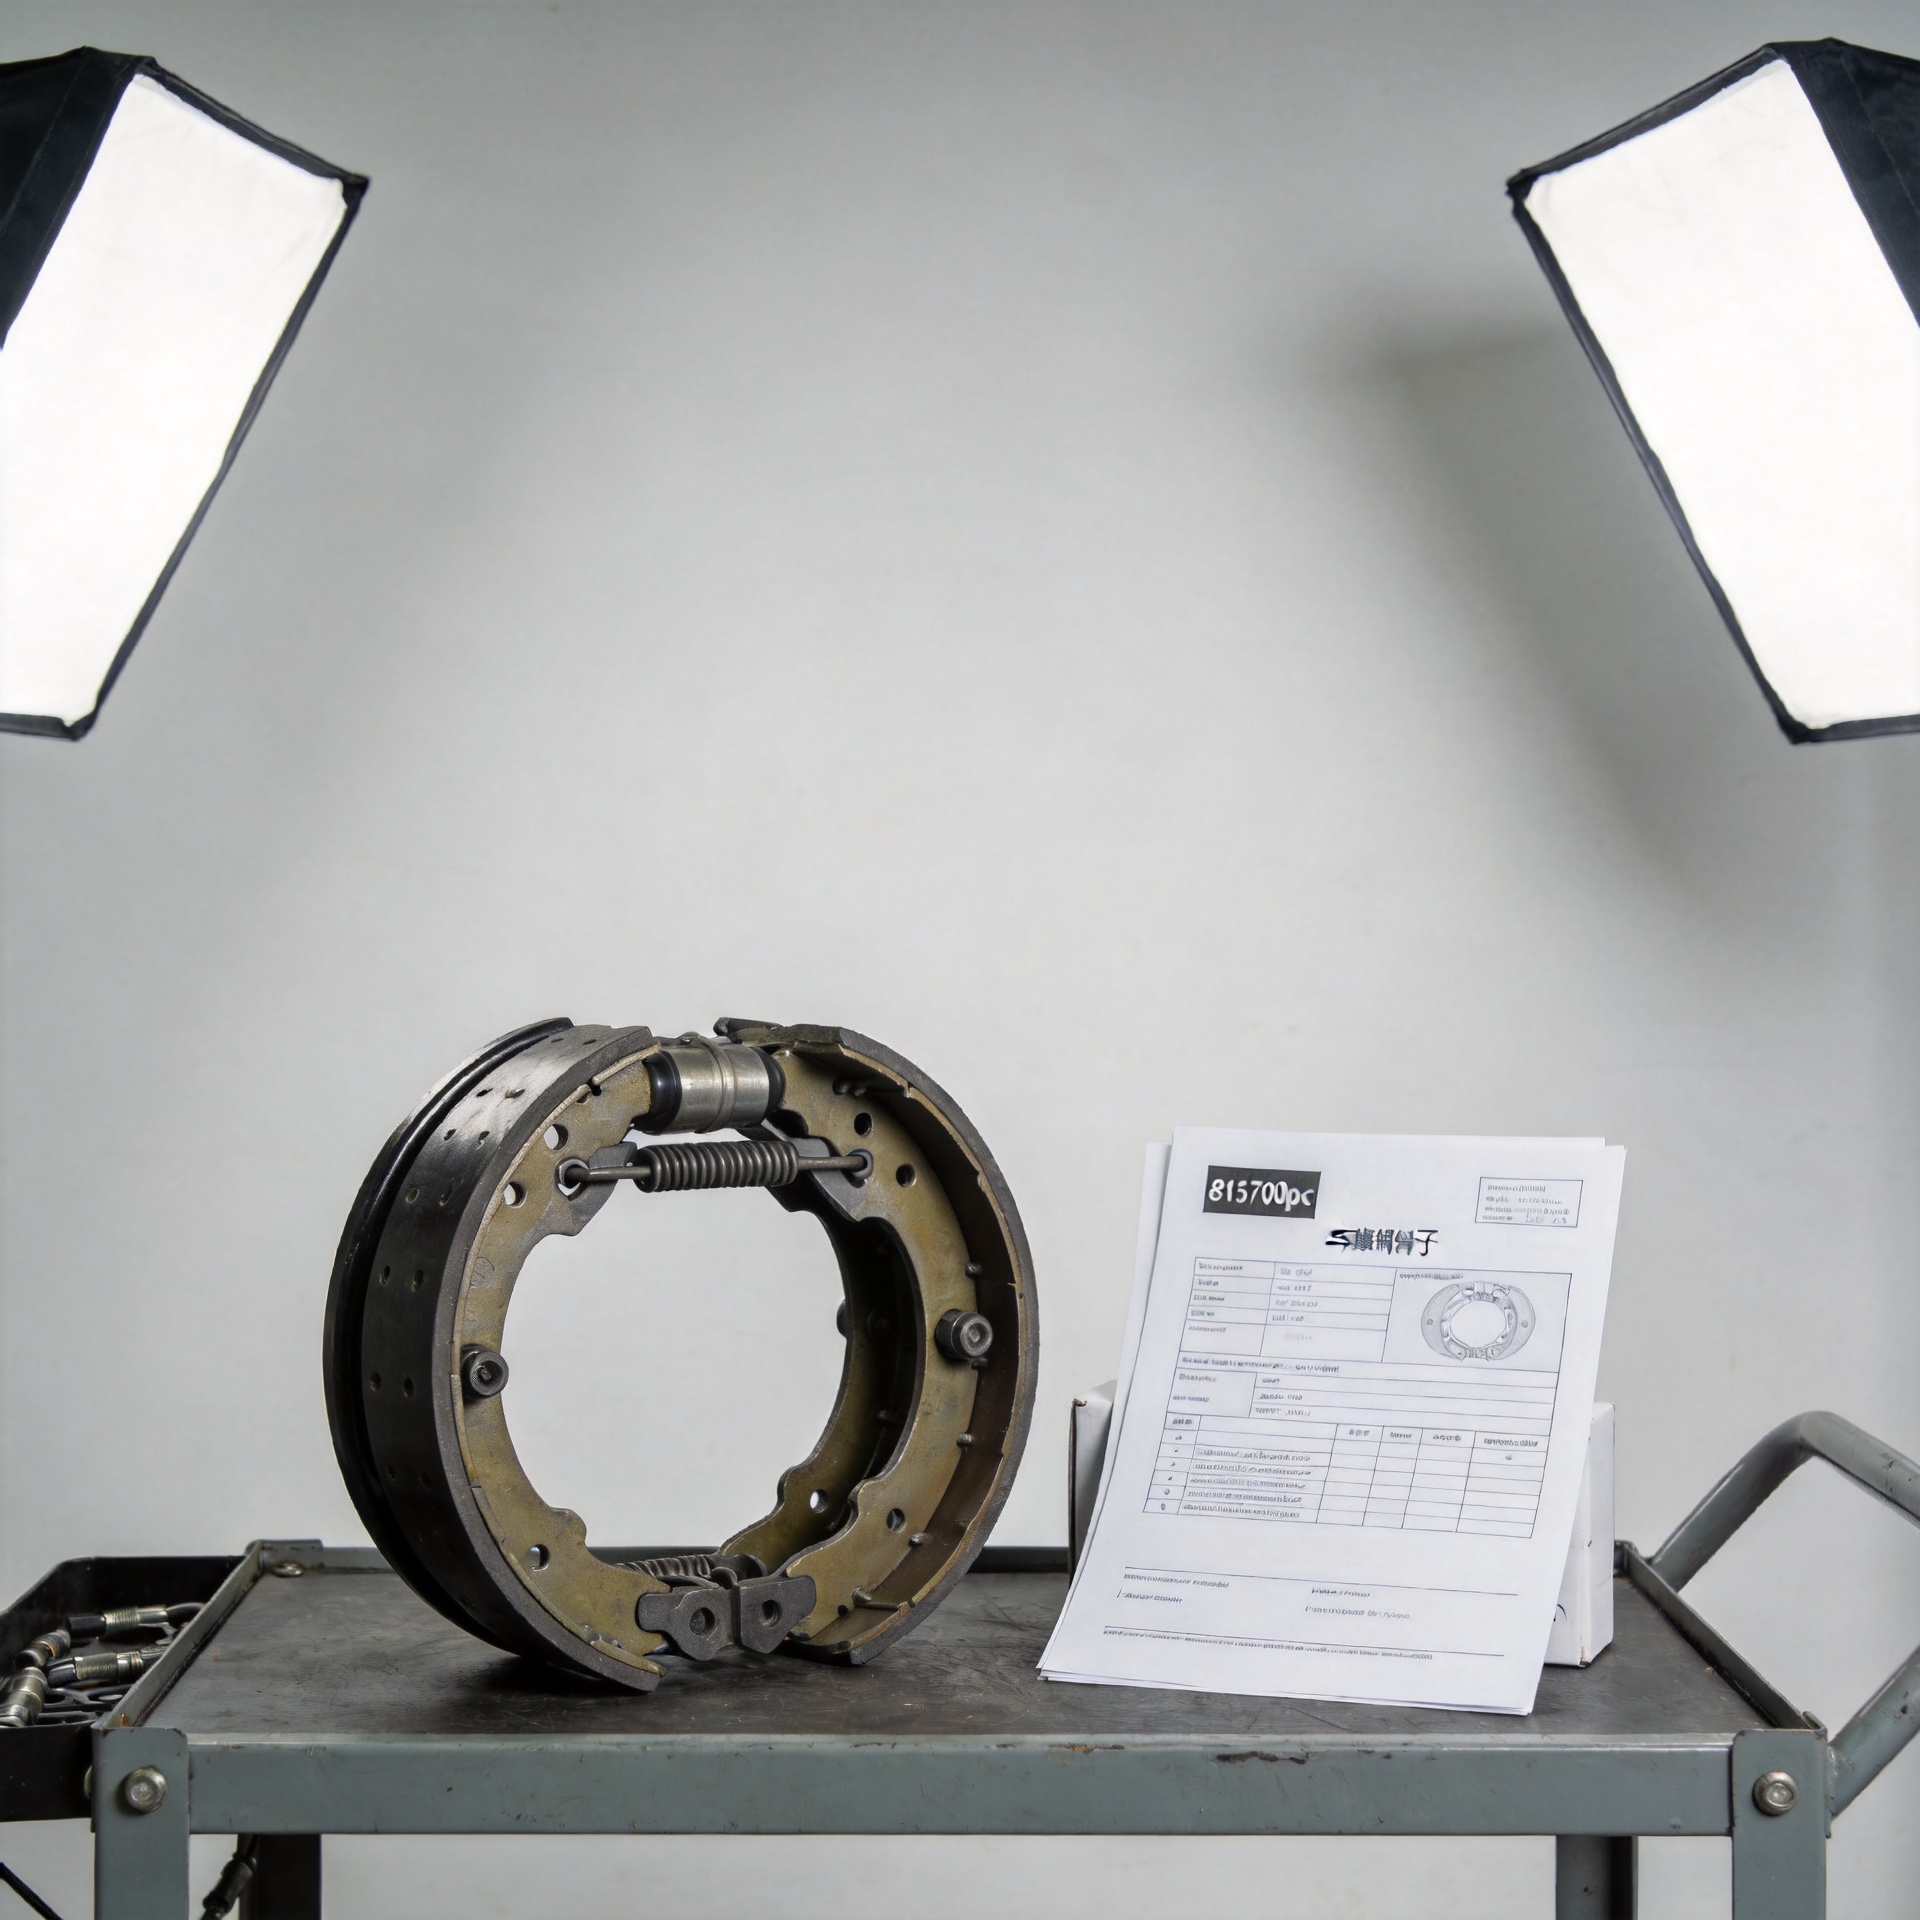
Uneven inner-to-outer pad wear, tapered friction material, glazing, or localized overheating can point to a caliper, slide, hose, hardware, or rotor issue. Replacing pads and discs without correcting the source may repeat the problem. First inspect the moving hardware and hydraulic components; then select the required brake rotors and pads only after the underlying condition is addressed.
When pads may be replaced without new rotors
A pad-only replacement can be appropriate when the rotors are measured within the manufacturer’s specification, the braking surface is even enough for the intended service method, there is no meaningful pulsation or damage, and the caliper and hardware operate correctly. This is why inspection records matter. A technician or buyer should document rotor thickness, compare it with the applicable minimum, and verify the part number against the vehicle configuration.
A normal wear ridge should be distinguished from damage that changes pad contact. A visible edge alone does not establish that the rotor must be discarded. Conversely, a disc that looks acceptable from the wheel side may still have thickness variation or corrosion in the swept area. Measurement and inspection are more reliable than a quick visual assumption.
A practical inspection checklist before ordering brake parts
- Confirm the vehicle application, axle position, rotor diameter, thickness, and ventilation design.
- Measure rotor thickness at the correct locations and compare it with the applicable manufacturer limit.
- Check both rotor faces for scoring, cracking, corrosion, heat marks, and uneven contact patterns.
- Investigate pedal pulsation or steering-wheel vibration rather than assuming the rotor alone is responsible.
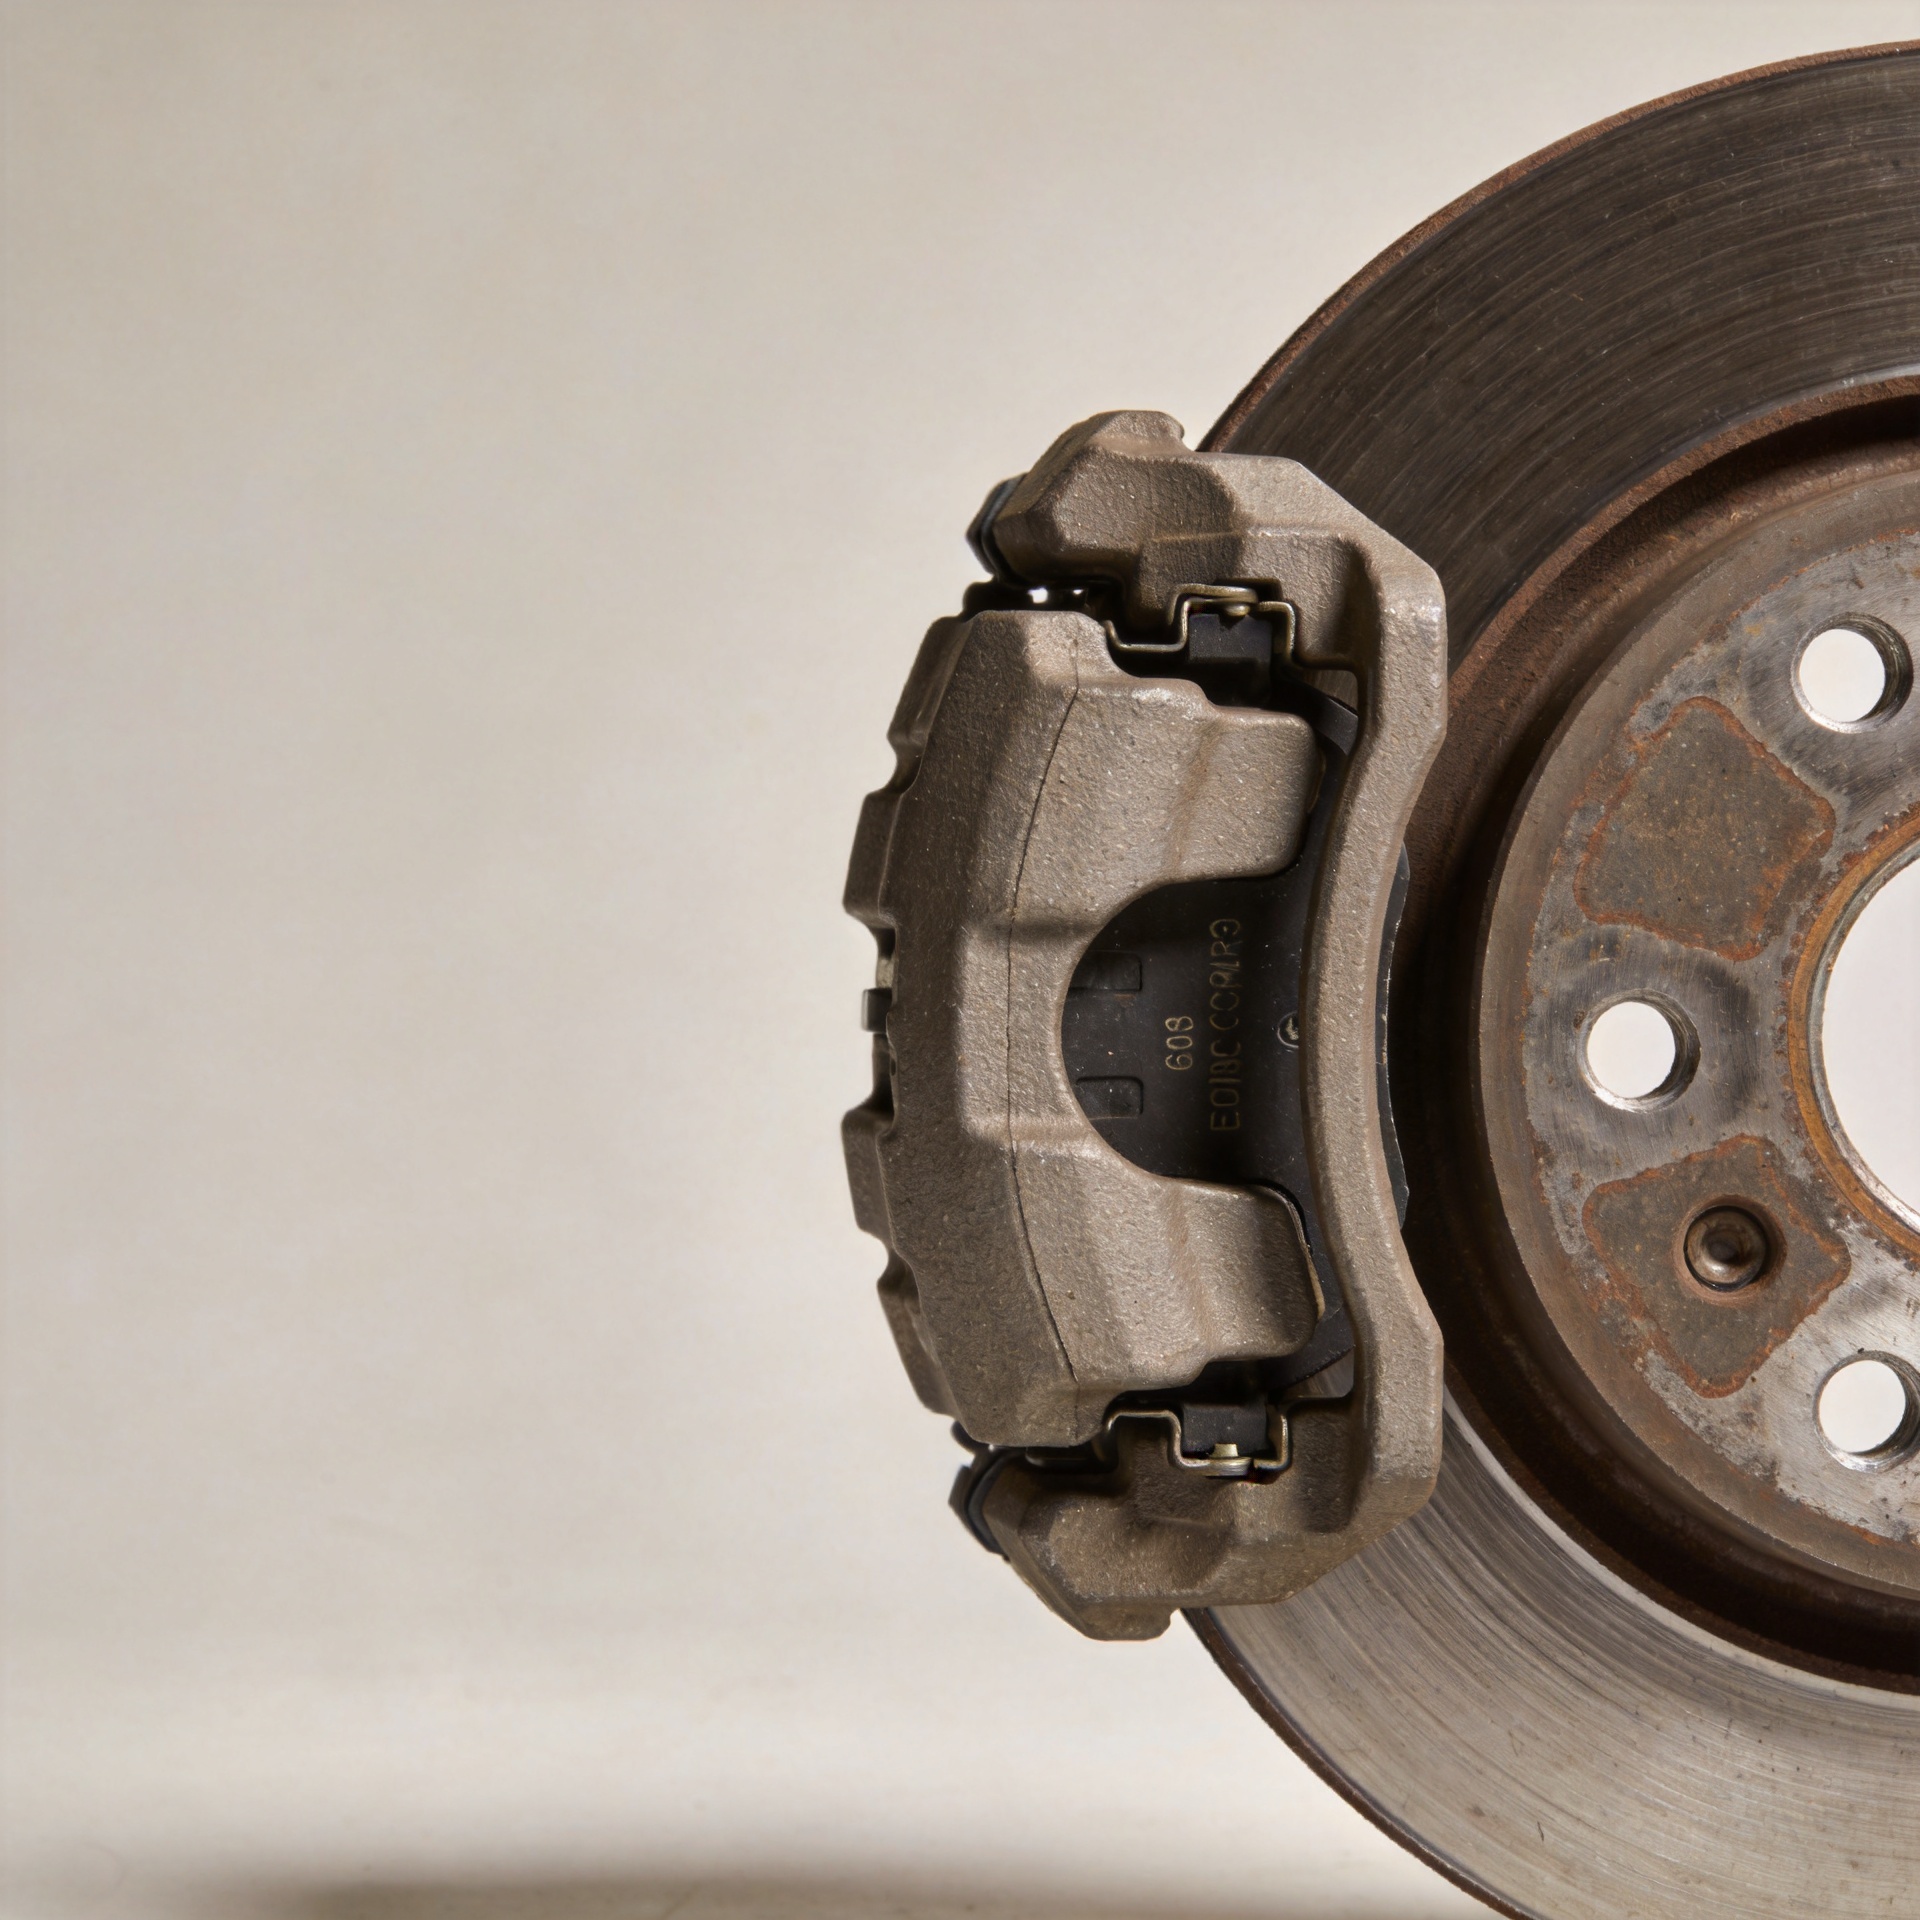
- Inspect pad wear pattern, caliper slides, piston movement, shims, clips, and related hardware.
- Verify the supplied pad and disc references as a matched application before installation.
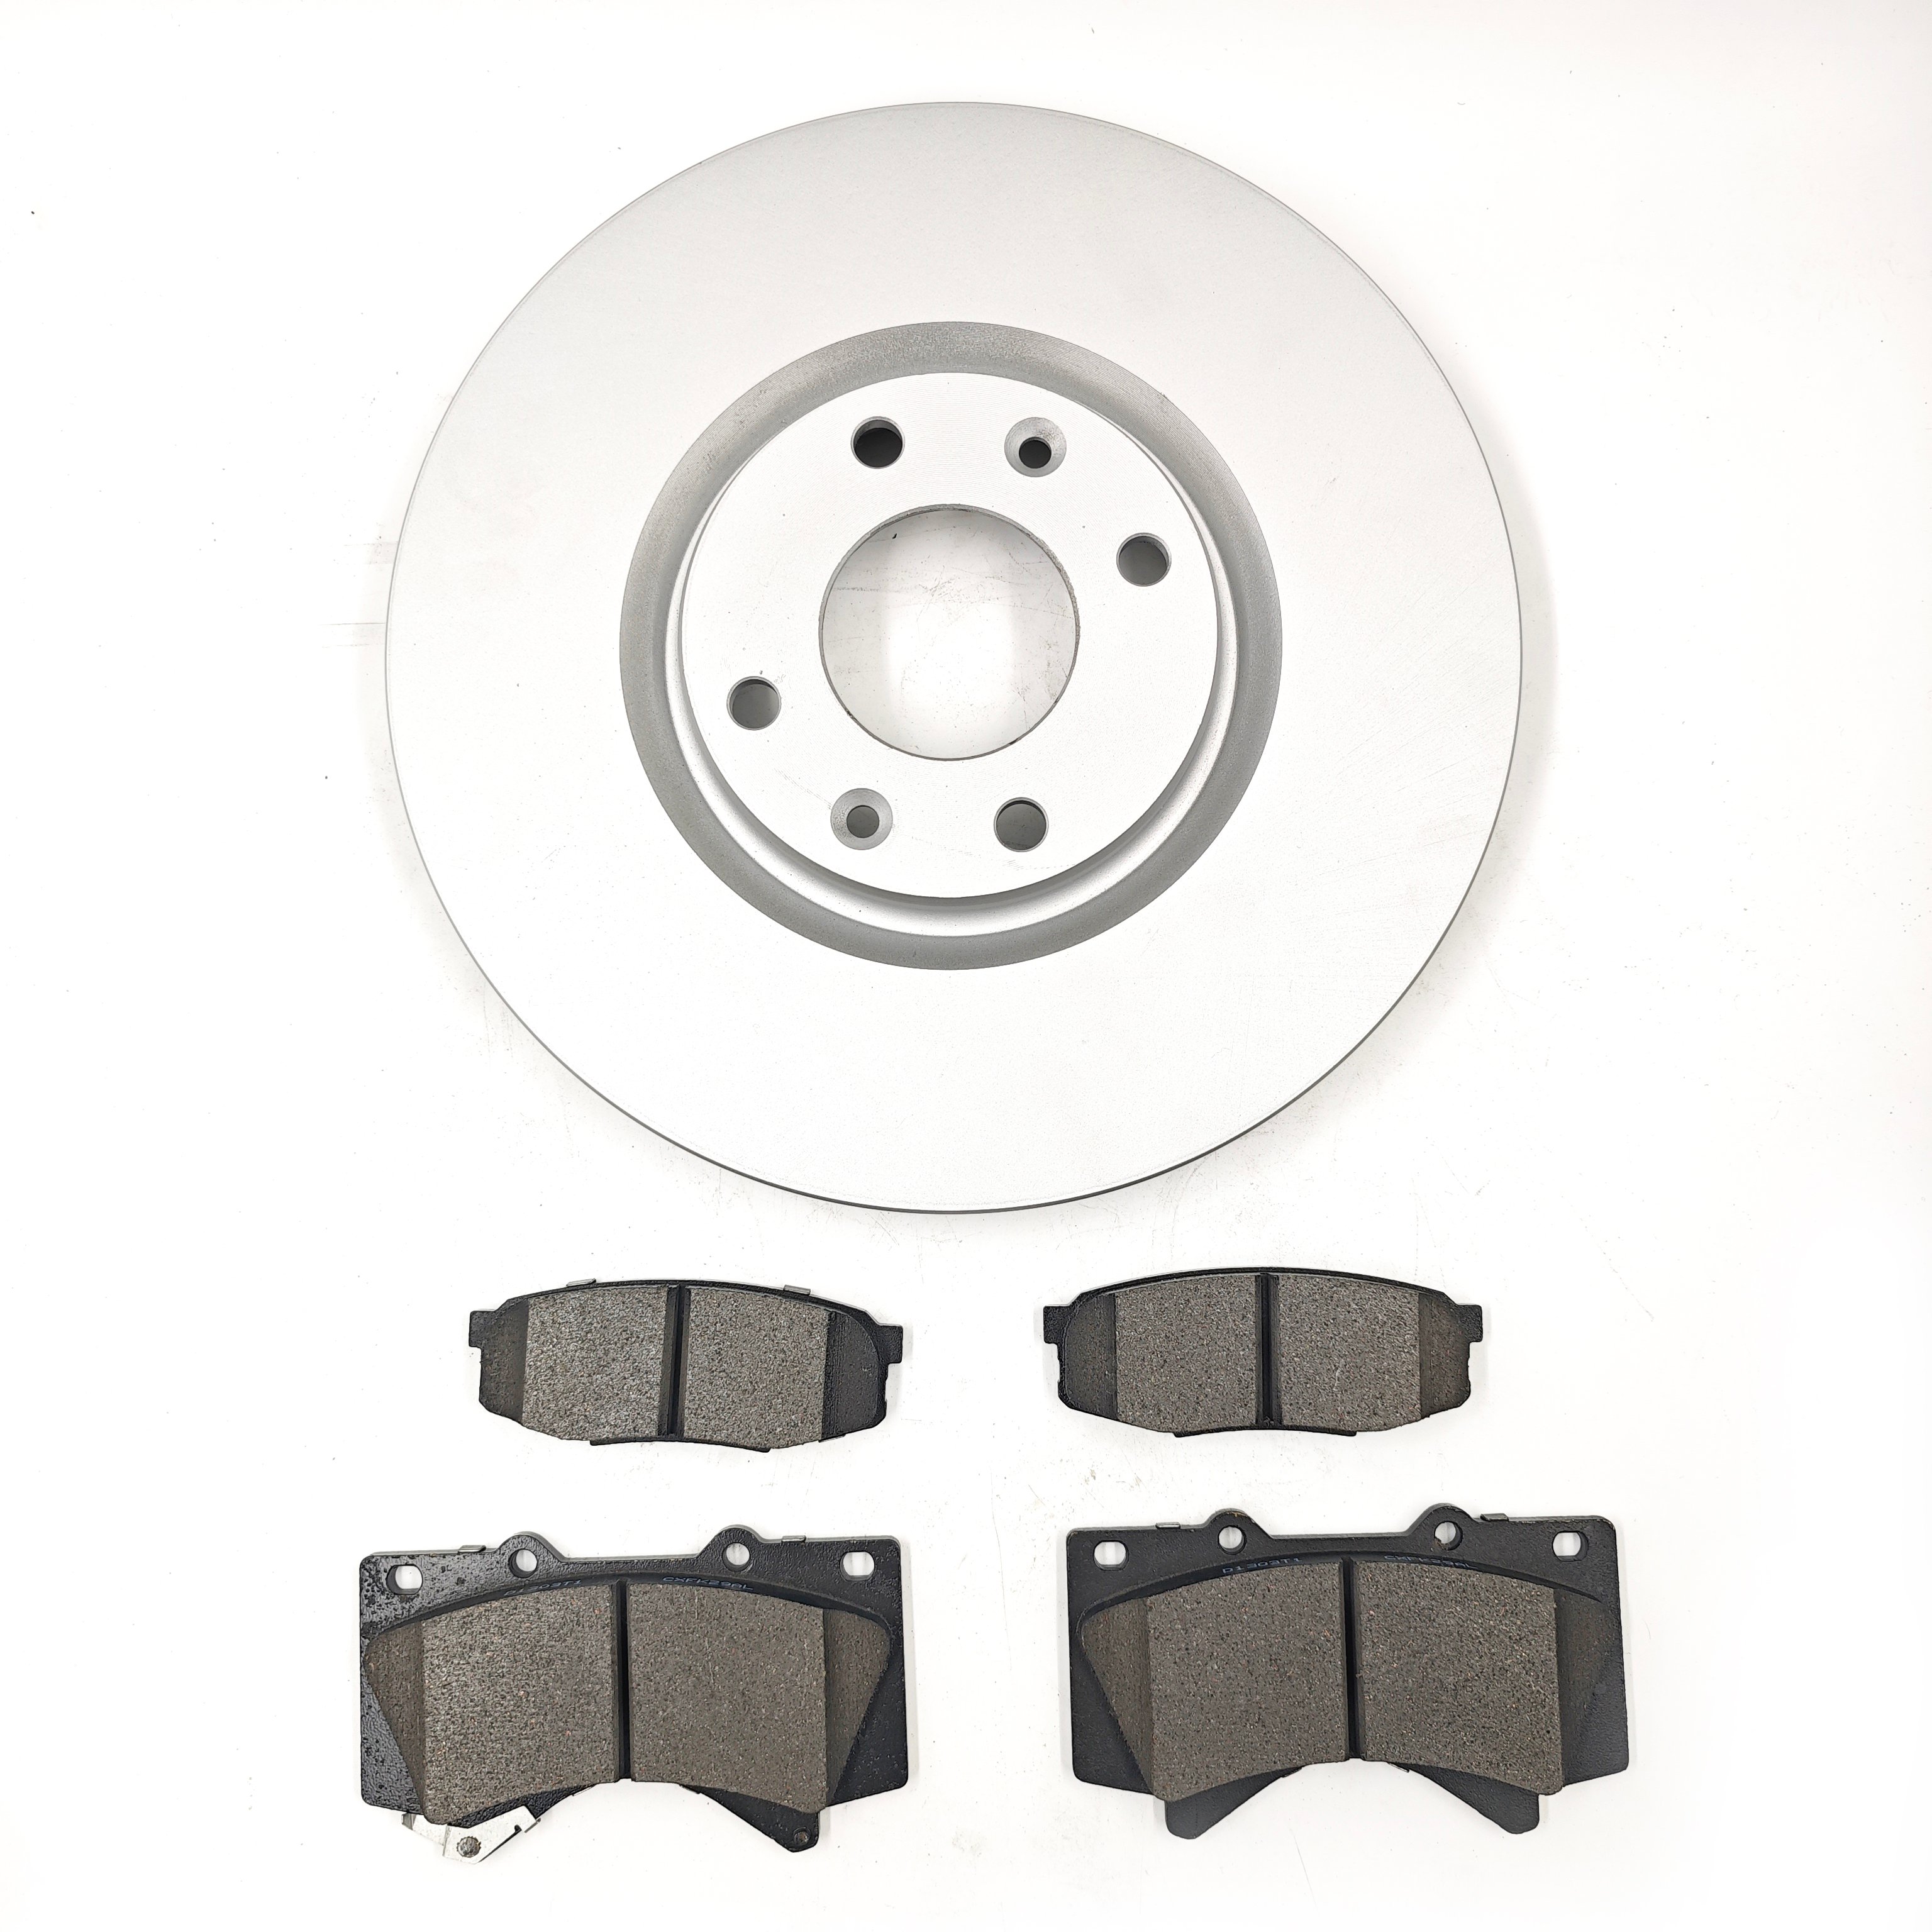
For example, a maintenance team reviewing a disc application can compare the confirmed part description for an SDCX 1647867480 RN1861V Brake Disc with the vehicle and axle requirements before ordering. The product reference supports fitment verification; it does not replace the vehicle manufacturer’s inspection procedure.
How to pair replacement pads and rotors responsibly
When the inspection shows that both components should be renewed, use parts that match the vehicle’s required dimensions and intended operating conditions. Pad material can influence noise, dust, and friction behavior, while rotor design affects heat handling and fitment. Those characteristics should be discussed as application-specific considerations, not universal performance promises.
Where a ceramic pad application is appropriate for the vehicle, a buyer can review the confirmed listing for a CX-D1210 premium ceramic brake pad listing alongside the matching rotor specification. Before fitting any pad-and-disc set, verify model, year, engine or brake-system configuration, and axle position against authoritative catalog or service data.
Installation details that protect the new friction pair
Correct installation has a direct effect on the result after you change brakes and rotors. The hub face should be clean, the rotor should seat fully, and fasteners should be tightened according to the vehicle procedure. Contamination, corrosion at the mounting surface, or uneven tightening can introduce runout that affects disc contact over time. Follow the bedding-in process specified for the parts and vehicle, and reassess any abnormal noise, pull, or pulsation after service.
For distributors and workshops, the accompanying paperwork matters as much as the carton label: record the vehicle details, rotor measurement, selected references, and any hardware or caliper corrections. This creates a clearer basis for future maintenance and avoids making a replacement decision from mileage alone.
Quick questions about brake rotors and pads
- Should the disc be renewed with the pads? Use measured wear, surface condition, and vehicle specifications.
- Does vibration identify the rotor by itself? No. Inspect disc variation, runout, hub seating, and caliper operation.
- Can a rotor be resurfaced? Only when the finished thickness remains above the application’s service limit.
- What should a buyer verify? Confirm axle, dimensions, ventilation, brake-system configuration, and catalog reference.
- What can uneven pad wear indicate? It can warrant inspection of slides, piston movement, hardware, and the mating disc surface.
- Is mileage enough to determine service? No. Measured condition and the vehicle procedure should drive the decision.
Conclusion: replace together when the inspection supports it
The right time to change brakes and rotors together is when the rotor no longer meets its service limit, has damage or unevenness that cannot be corrected within specification, or is linked to a verified braking symptom. If the rotors remain serviceable and the rest of the brake assembly checks out, a pad-only service may be suitable. In either case, use measured condition, vehicle-specific specifications, and fitment verification to make the decision.