
Essential Guidelines for Professional Brake Pad Installation
Installing car brake pads correctly is crucial for vehicle safety and optimal braking performance. Whether you're a DIY enthusiast or a professional mechanic, understanding the proper installation process of car brake pads can make the difference between reliable stopping power and potential brake system failure. This comprehensive guide will walk you through the essential steps, techniques, and considerations for a successful brake pad replacement.
Modern vehicles rely heavily on properly functioning brake systems, with brake pads being at the forefront of stopping capability. The installation process requires attention to detail, the right tools, and comprehensive knowledge of brake system components. Let's explore the vital aspects of brake pad installation that ensure your vehicle maintains peak braking performance.
Preparation and Safety Measures
Required Tools and Equipment
Before beginning the car brake pads installation process, gathering the correct tools is essential. You'll need a jack and jack stands, lug wrench, brake cleaner, wire brush, torque wrench, C-clamp or brake caliper tool, and appropriate safety equipment. Having all necessary tools within reach ensures a smooth installation process and prevents unnecessary interruptions.
Additionally, prepare your workspace with adequate lighting and ventilation. The brake dust that accumulates on old brake pads can be harmful when inhaled, so wearing a dust mask and safety glasses is highly recommended. Keep a clean work surface to avoid contaminating new brake components.
Initial Vehicle Assessment
Conduct a thorough inspection of the entire brake system before removing any components. Check for uneven wear patterns on the existing car brake pads, scoring on the rotors, and signs of fluid leaks. This preliminary assessment helps identify any additional repairs needed beyond pad replacement and ensures you address all potential issues during the installation process.
Document the orientation and position of the current brake pads and hardware. Taking photos or making notes can be invaluable when reassembling the system, especially if you're working on an unfamiliar vehicle model.
Proper Installation Techniques
Removing Old Brake Components
Begin by safely lifting and securing the vehicle on jack stands. Remove the wheels to access the brake assembly. When removing the old car brake pads, pay close attention to how the brake hardware is arranged. Clean the caliper mounting bracket thoroughly, removing any rust or debris that could affect the new pads' movement.
Inspect the brake rotors for any damage or excessive wear. If the rotors show signs of significant grooving or uneven wear, they may need to be resurfaced or replaced to ensure optimal performance with the new brake pads.
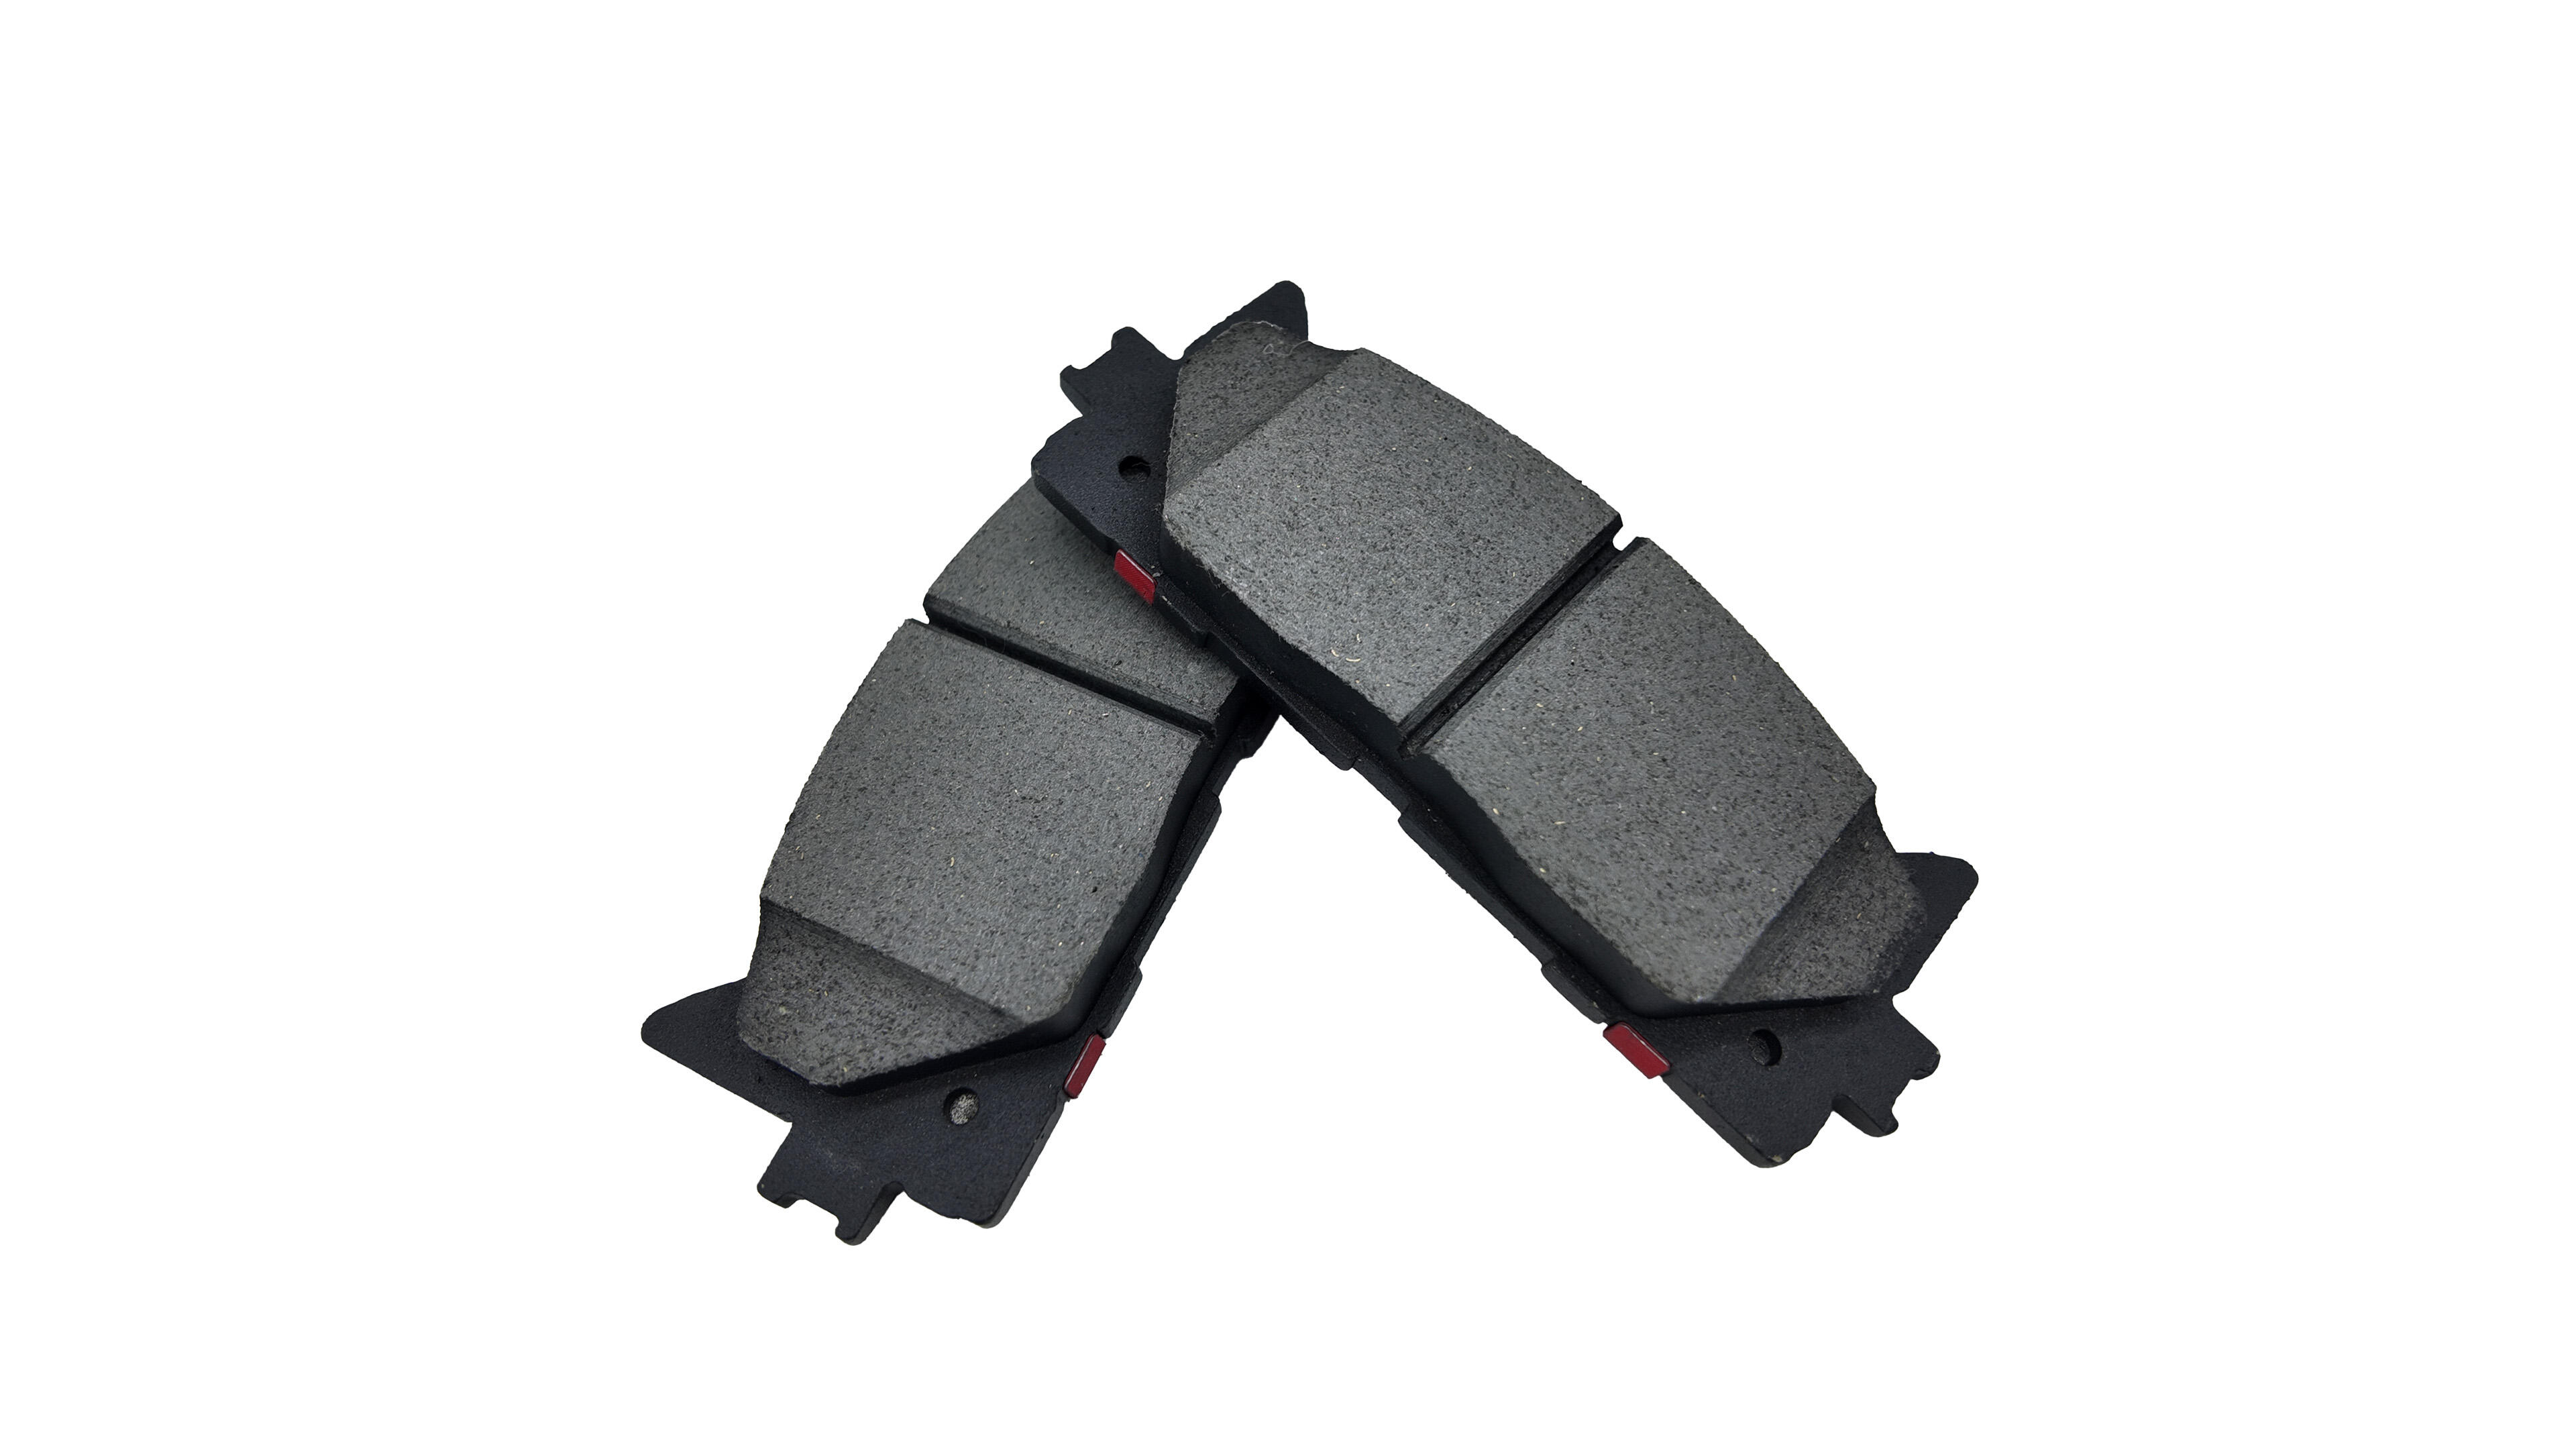
Installing New Brake Pads
Before installing new car brake pads, apply brake lubricant to the contact points between the pad and caliper bracket. This reduces noise and ensures smooth pad movement. Install any new hardware included with the brake pads, as these components are designed to work together for optimal performance.
When positioning the new pads, ensure they sit properly in the caliper bracket and maintain proper alignment. Check that the brake pad shims are correctly placed and that the wear indicators are positioned according to manufacturer specifications. Proper installation at this stage is crucial for preventing brake noise and ensuring even pad wear.
Post-Installation Procedures
Break-in Process
After installing new car brake pads, following the proper break-in procedure is essential for optimal performance. This process, also known as bedding in the brakes, creates a transfer layer of pad material onto the rotor surface. Start with several moderate-speed stops to warm up the brakes gradually. Then perform a series of stronger braking maneuvers from higher speeds, allowing time between stops for the brakes to cool.
Avoid coming to a complete stop during the break-in process, as this can create uneven material transfer and potentially lead to brake judder. Complete the process by allowing the brakes to cool completely before regular use.
Quality Control Checks
Perform a thorough inspection of your work before returning the vehicle to service. Check that all bolts are torqued to specification, the brake fluid level is correct, and the brake pedal feels firm. Listen for any unusual noises during the first few brake applications and pay attention to pedal feel.
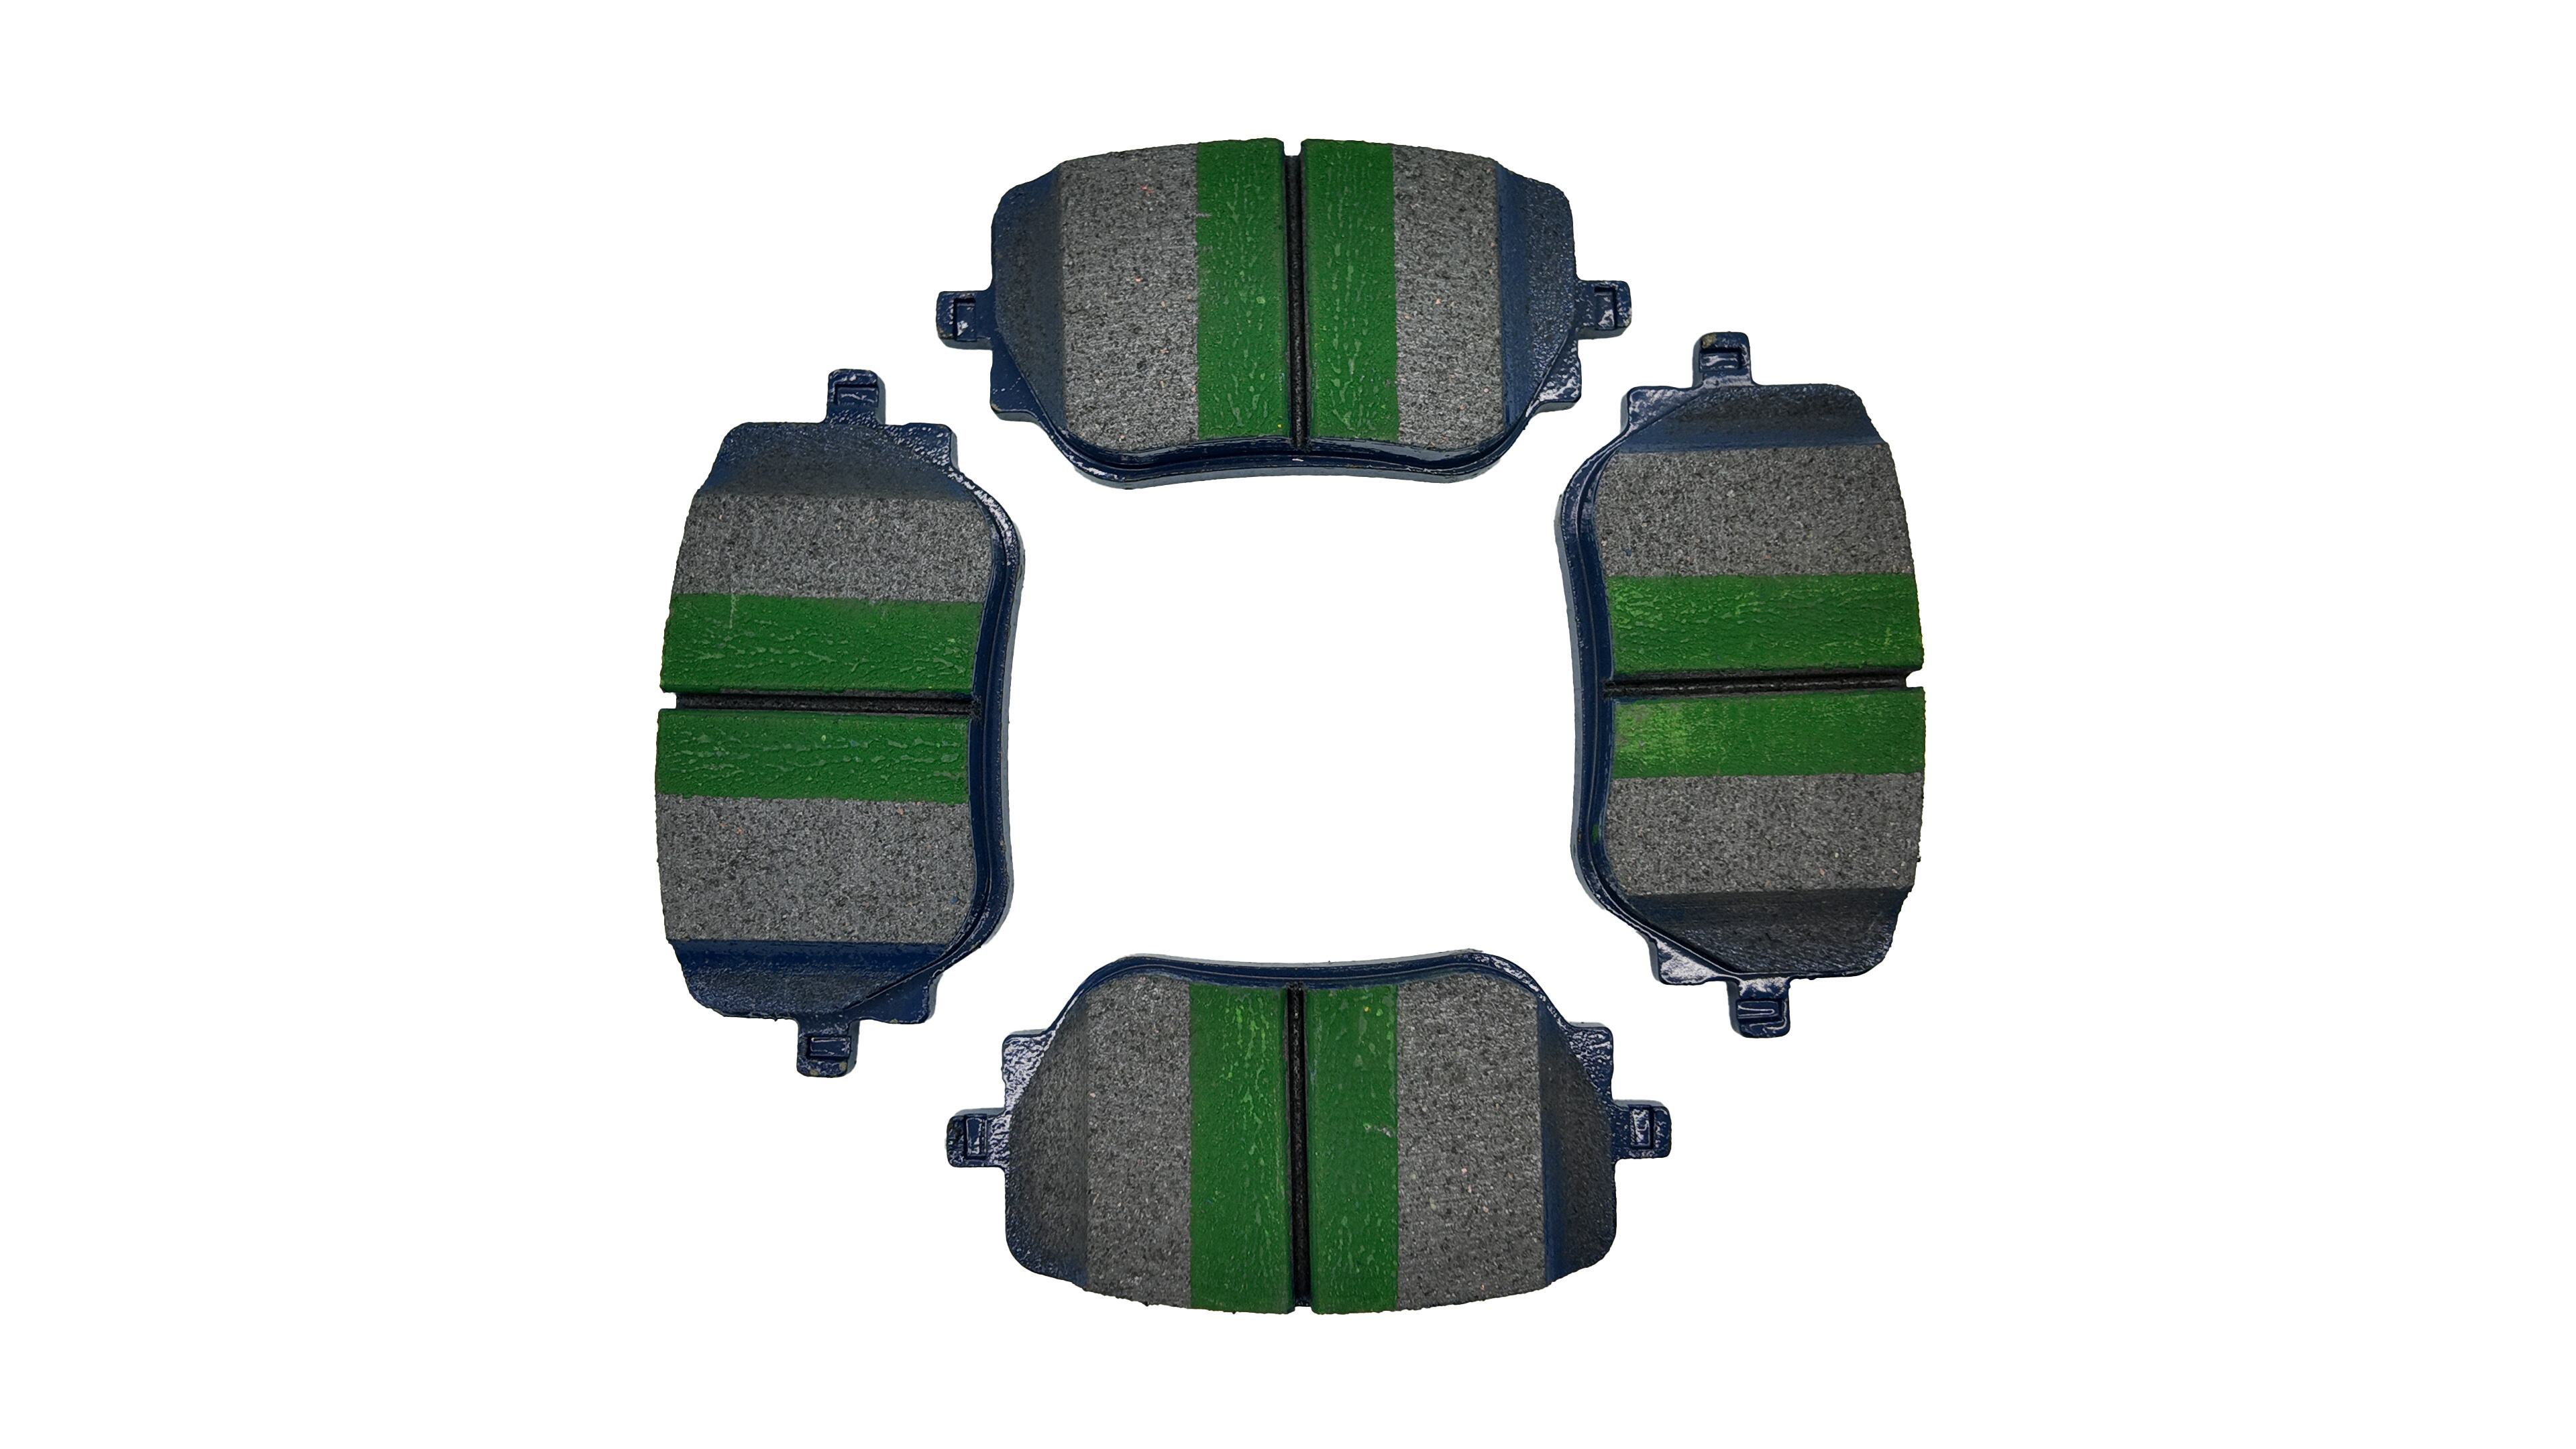
Monitor the car brake pads' performance during the first few hundred miles after installation. Watch for signs of uneven wear, unusual noises, or changes in braking performance. Early detection of potential issues can prevent more serious problems from developing.
Maintenance and Monitoring
Regular Inspection Schedule
Establish a routine inspection schedule for your newly installed car brake pads. Check pad thickness regularly, especially during the first few thousand miles after installation. Look for signs of uneven wear, which could indicate installation issues or problems with other brake components.
Keep detailed records of when the brake pads were installed and any observations during subsequent inspections. This information can be valuable for tracking wear patterns and planning future maintenance.
Long-term Performance Optimization
To maximize the lifespan of your car brake pads, adopt driving habits that reduce unnecessary wear. Avoid aggressive braking when possible, maintain a safe following distance, and anticipate traffic conditions to reduce the need for sudden stops.
Regular cleaning of the brake assembly can help prevent the buildup of brake dust and road debris, which can affect pad performance and wear. Consider periodic brake fluid changes as recommended by the vehicle manufacturer to maintain optimal system performance.
Frequently Asked Questions
How often should brake pads be replaced?
The replacement interval for car brake pads varies depending on driving conditions, vehicle type, and pad material. Generally, brake pads should be inspected every 12,000 miles and replaced when they reach approximately 3-4mm thickness or show signs of uneven wear.
What causes squeaking after new brake pad installation?
Squeaking after installation can be caused by improper break-in procedures, missing or incorrectly installed hardware, or contamination of the pad surface. Ensure all installation steps were followed correctly and that the break-in procedure was properly completed.
How long does the break-in period last for new brake pads?
The break-in period for new car brake pads typically requires about 200-300 miles of normal driving. However, the initial bedding process should be performed immediately after installation to establish proper pad material transfer to the rotors.